

Caulking is the last trade through a residential fitout and the first thing anyone notices when it is done badly. On this Port Melbourne home the joinery, stone and tiling were all finished to a high standard, which left every junction between them exposed. Our job was to make those junctions disappear.
Quick answer: Internal caulking is what ties a fitout together. The seals that matter most are the ones that get wet every day, the benchtop to splashback line, the sink and tap bases, the shower screen and niche, and the toilet pan to floor. Everything else, skirtings, reveals, joinery scribes and stair stringers, is about the finish. Get both right and the house reads as one continuous piece of work rather than a set of trades meeting at the edges.
Project at a Glance
| Detail | This project |
|---|---|
| Suburb | Port Melbourne, Melbourne inner south |
| Property type | Residential home, full internal fitout |
| Areas sealed | Kitchen, two bathrooms, both showers, stairwell, living areas |
| Key substrates | Engineered stone, oak veneer joinery, large format porcelain tile, painted plaster, timber flooring, frameless glass |
| Products | Mould resistant neutral cure silicone in wet areas, paintable low shrinkage sealant on trim |
7 Internal Caulking Details That Decide the Finish
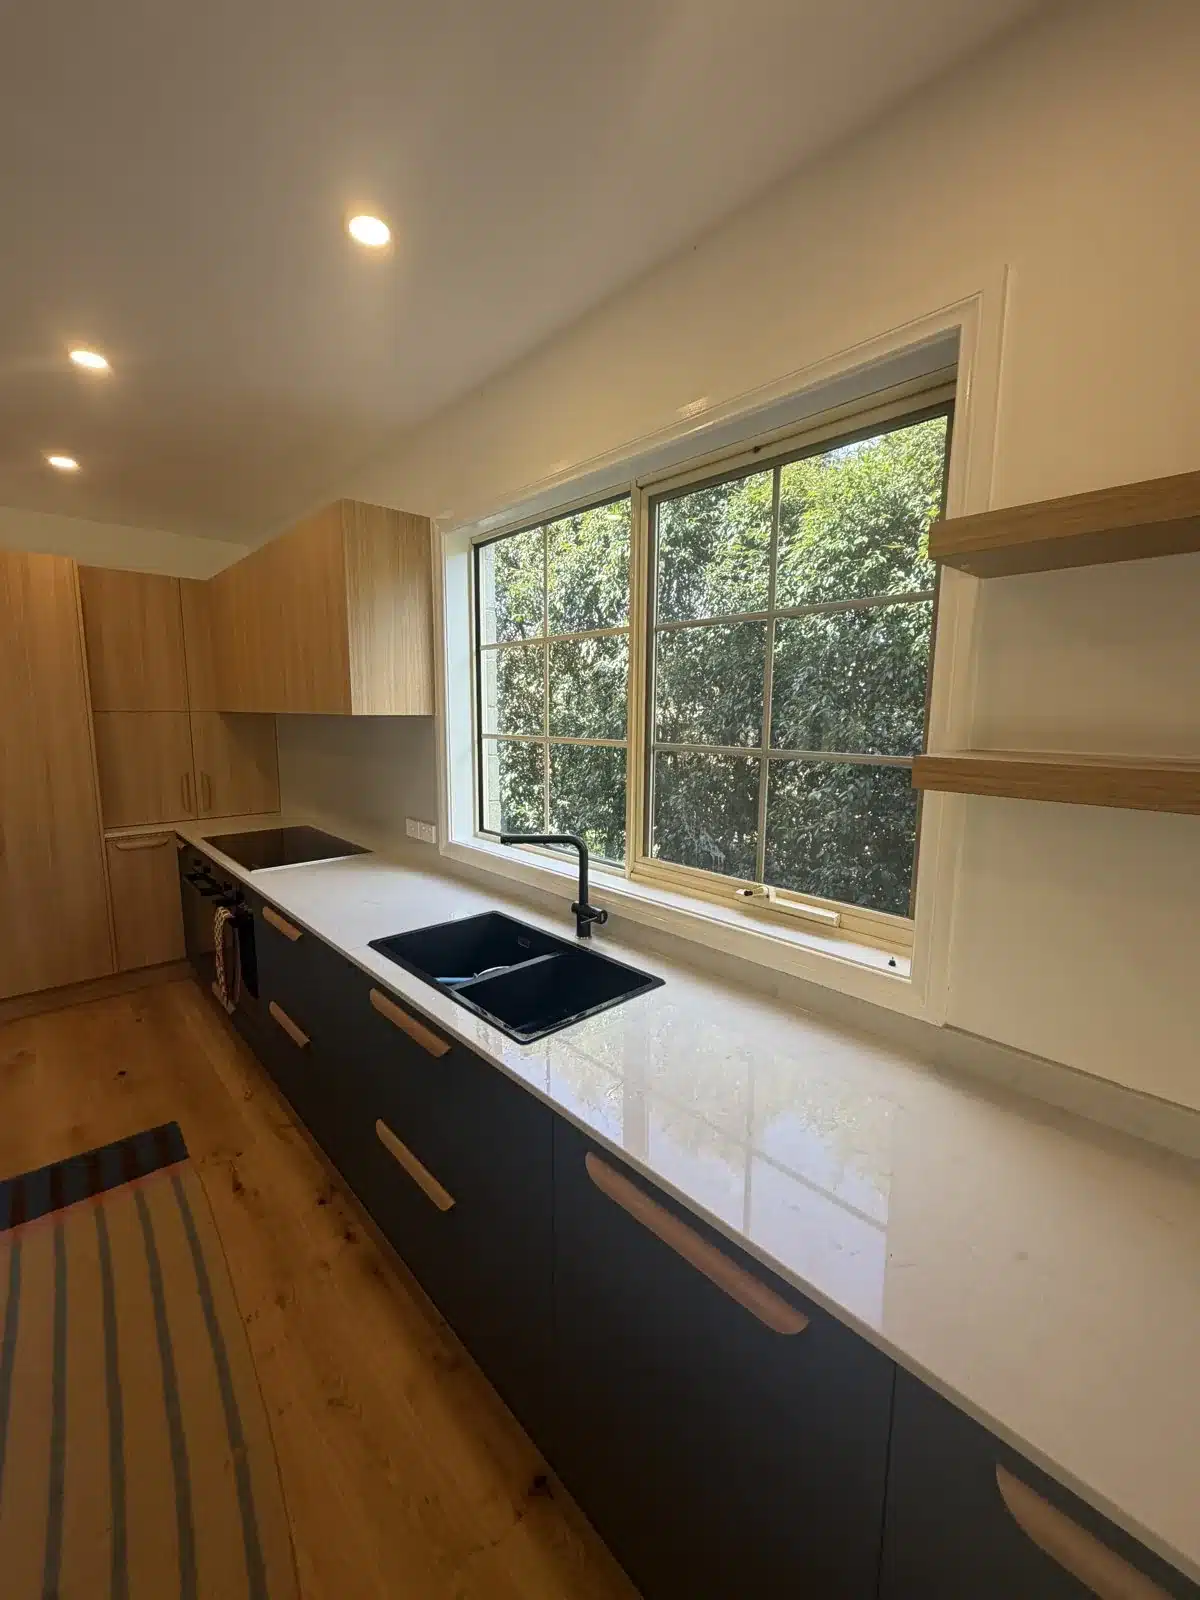
1. The kitchen benchtop to splashback junction
The stone benchtop runs the full length of the galley and meets the wall behind it along one continuous line. That join moves. Stone expands, the wall frame shifts, and a rigid filler cracks within a season.
We sealed it with a flexible, colour matched silicone in a single pass so the bead reads as a shadow line rather than a repair. One bead, no joins, no overlap marks.
Why it matters: water tracking behind a benchtop is one of the most common causes of swollen cabinetry in Melbourne kitchens, and it stays invisible until the kickboard starts lifting.
2. Around the sink and tapware
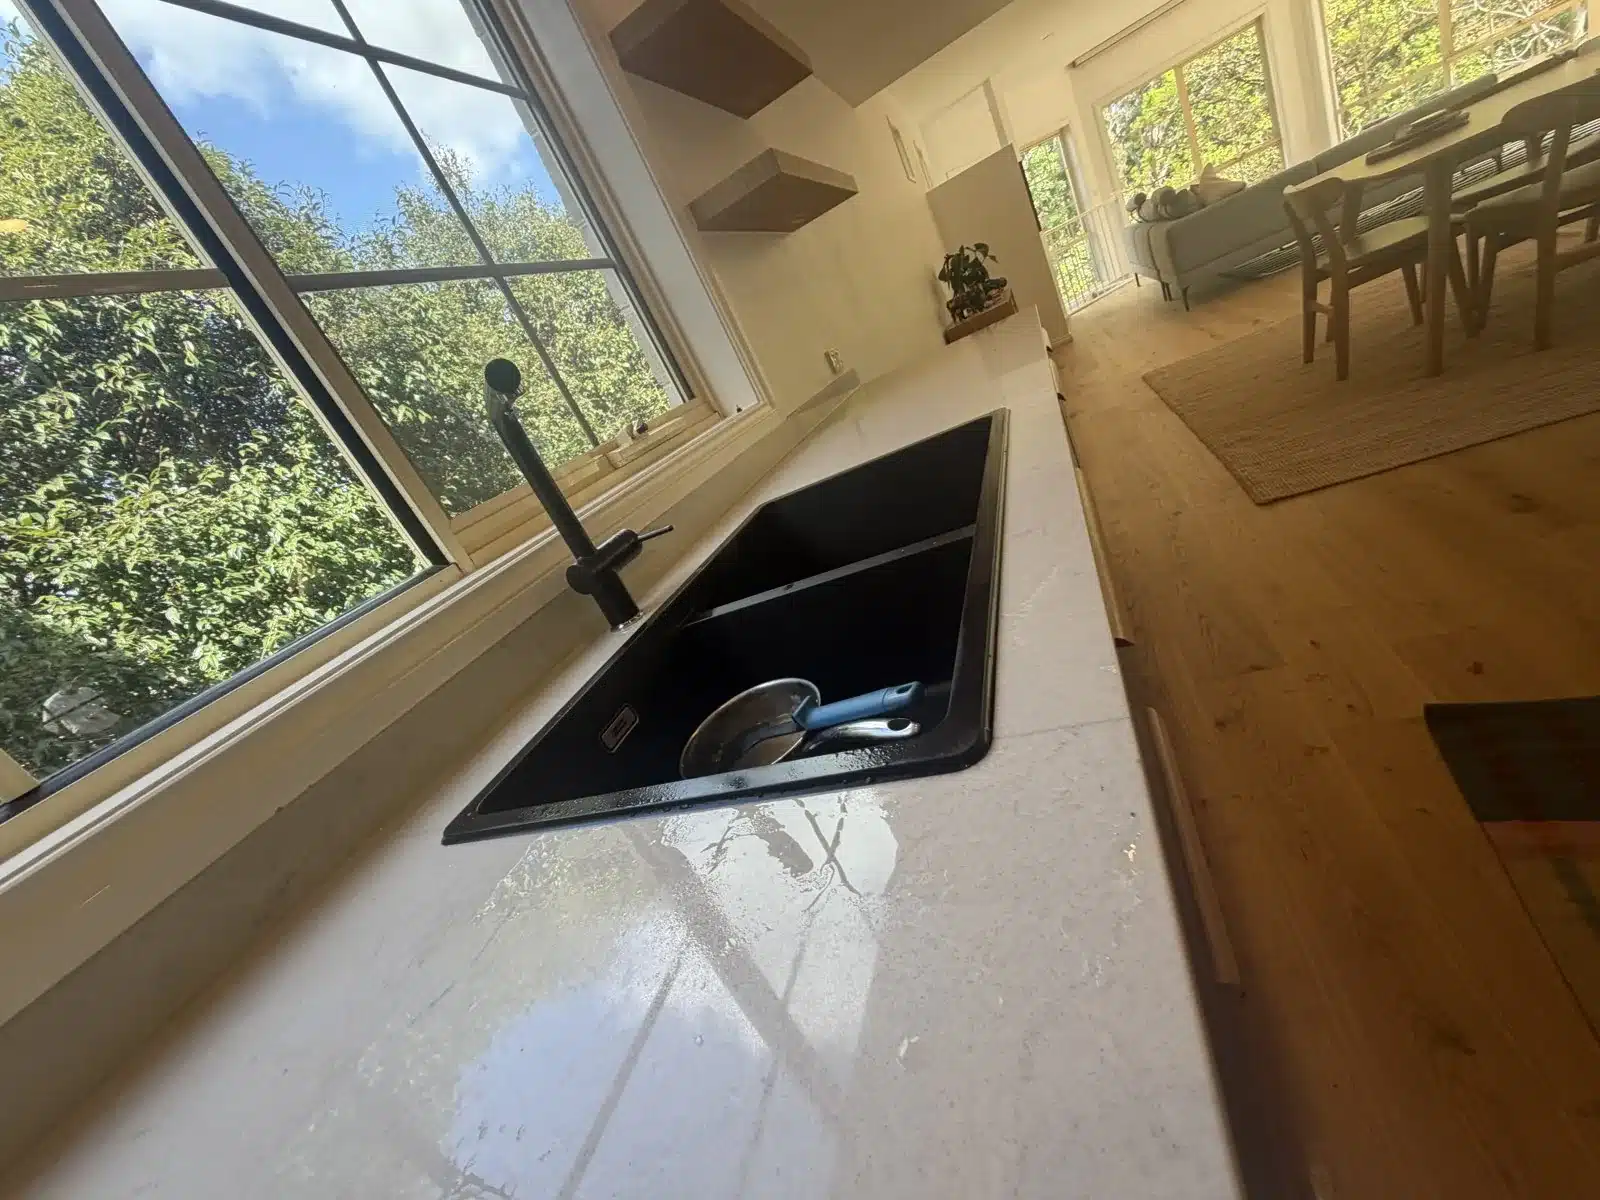
The black granite sink sits in a stone benchtop with a mixer behind it. Two of the hardest working seals in the house are right here, and both get wet every day.
We cut the bead tight to the sink rim so the silicone sits flush rather than proud, which stops the edge catching grime. The tap base got the same treatment.
Why it matters: sink and tap seals are the ones homeowners end up searching for a reseal on two years later. Done properly the first time, they last.
3. Window reveals in the kitchen and living areas
The timber framed windows sit inside painted reveals with a crisp square set edge. Any gap between the frame and the reveal shows up the moment afternoon light hits it.
We caulked the full perimeter of each reveal with a paintable, low shrinkage sealant, tooled to a sharp corner so the line stays square rather than rounding off.
Why it matters: sealed reveals cut draughts and stop dust tracking in, which is worth real money in a Port Melbourne home exposed to bay wind.
4. Floating shelves and tall joinery scribes
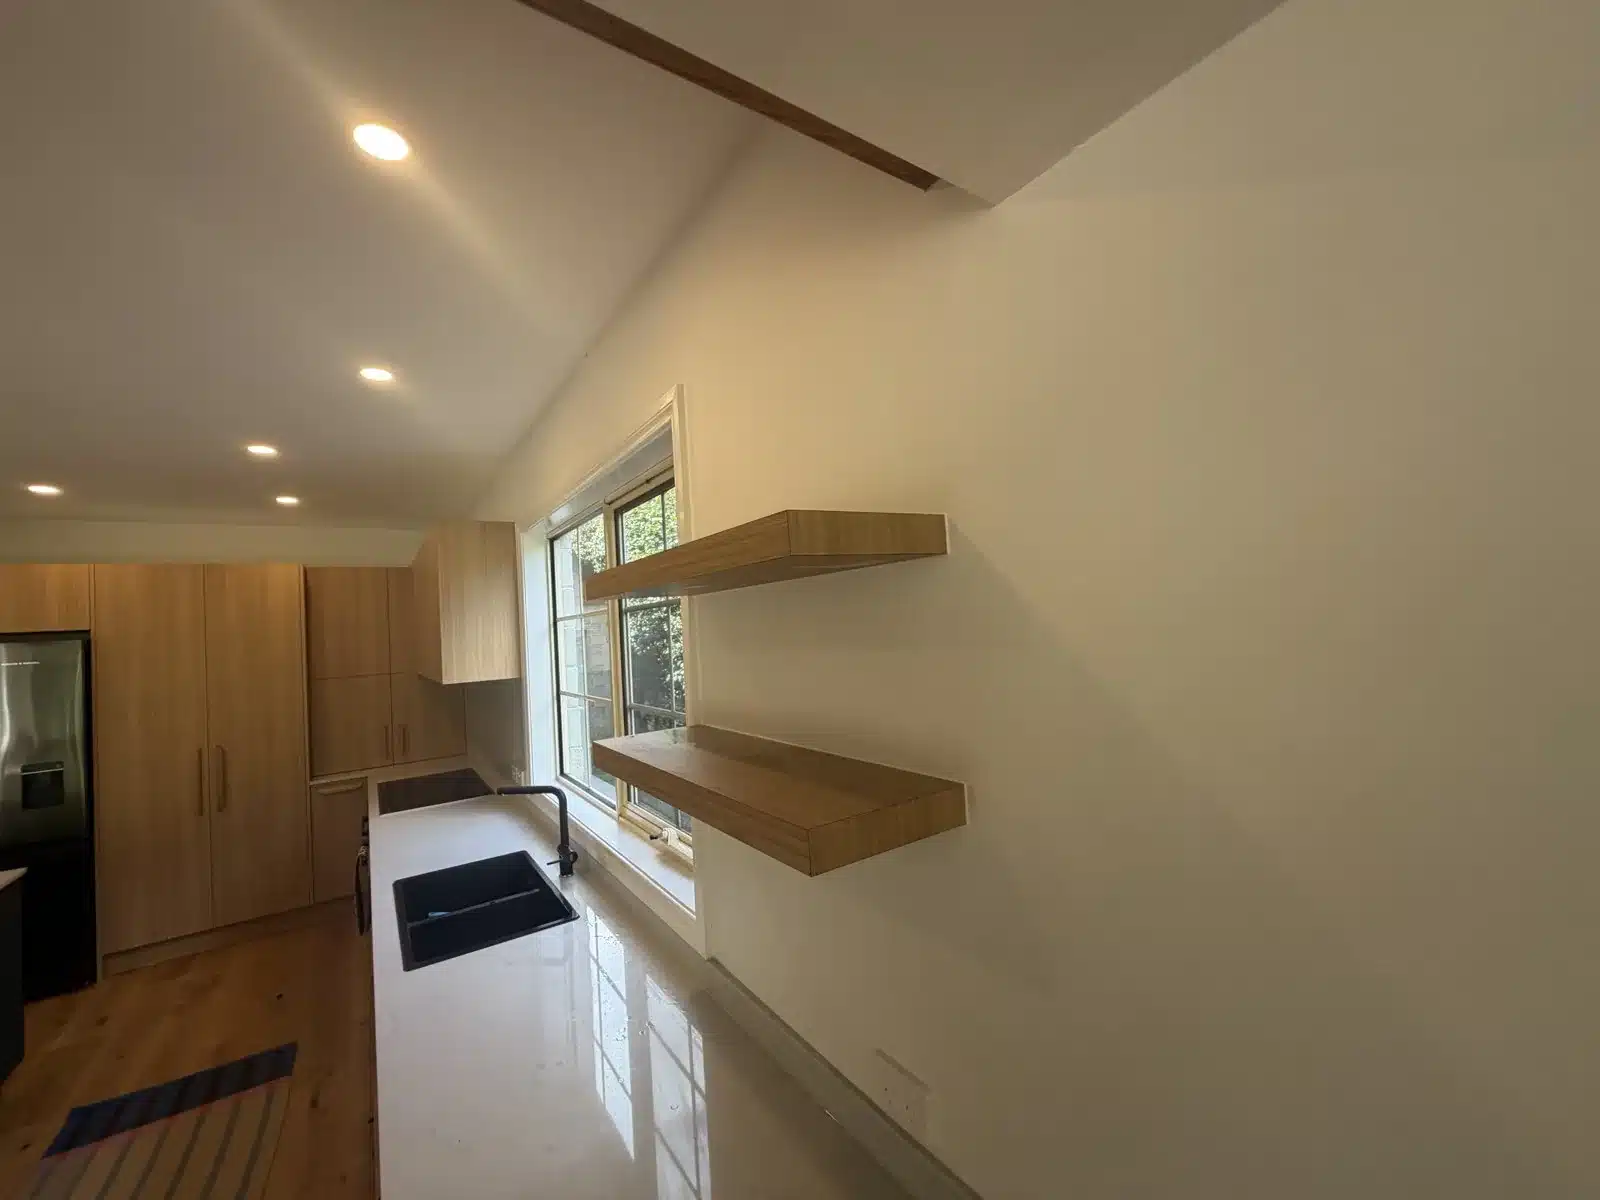
The oak floating shelves and the full height cabinetry both scribe into plasterboard walls that are never perfectly flat. Shadow gaps of a millimetre or two are normal and look like an error.
We filled and tooled each scribe line so the joinery reads as built in rather than installed against the wall.
Why it matters: this is the detail that separates a joinery install from a finished room, and it costs almost nothing to get right at the caulking stage.
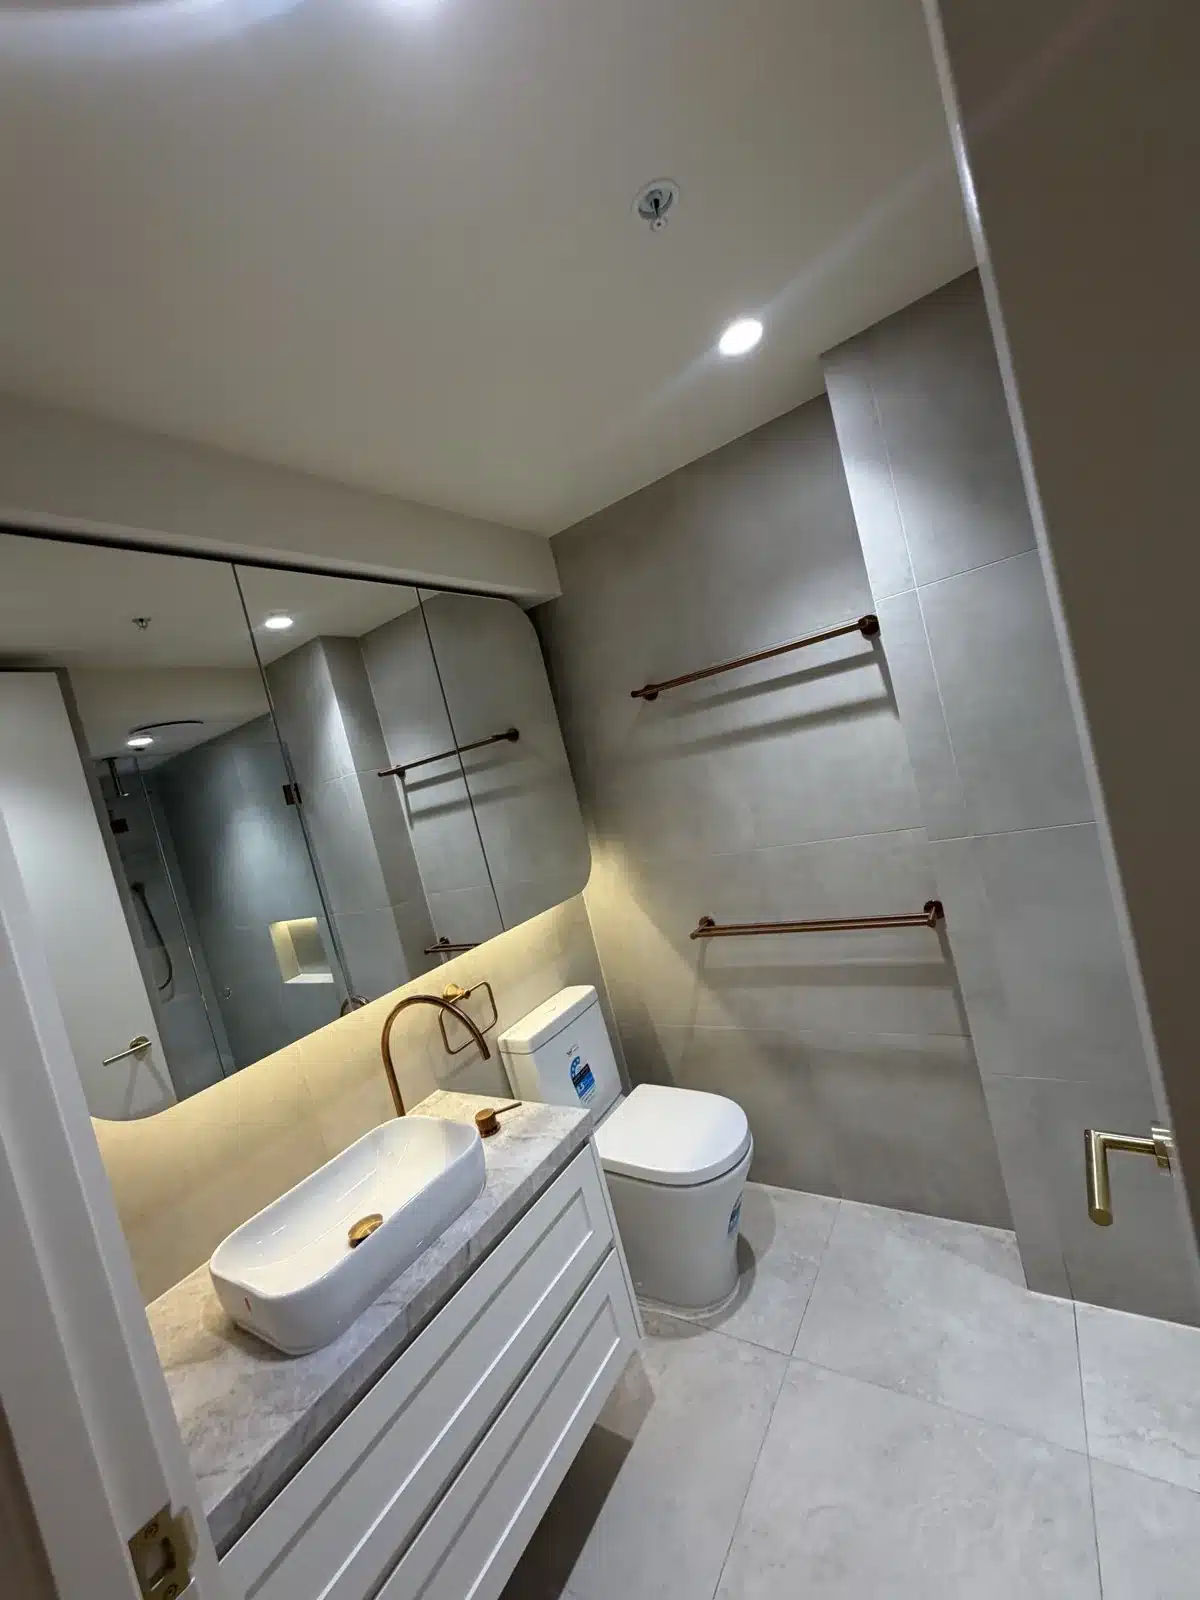
5. Both bathrooms: vanity, basin and toilet pan
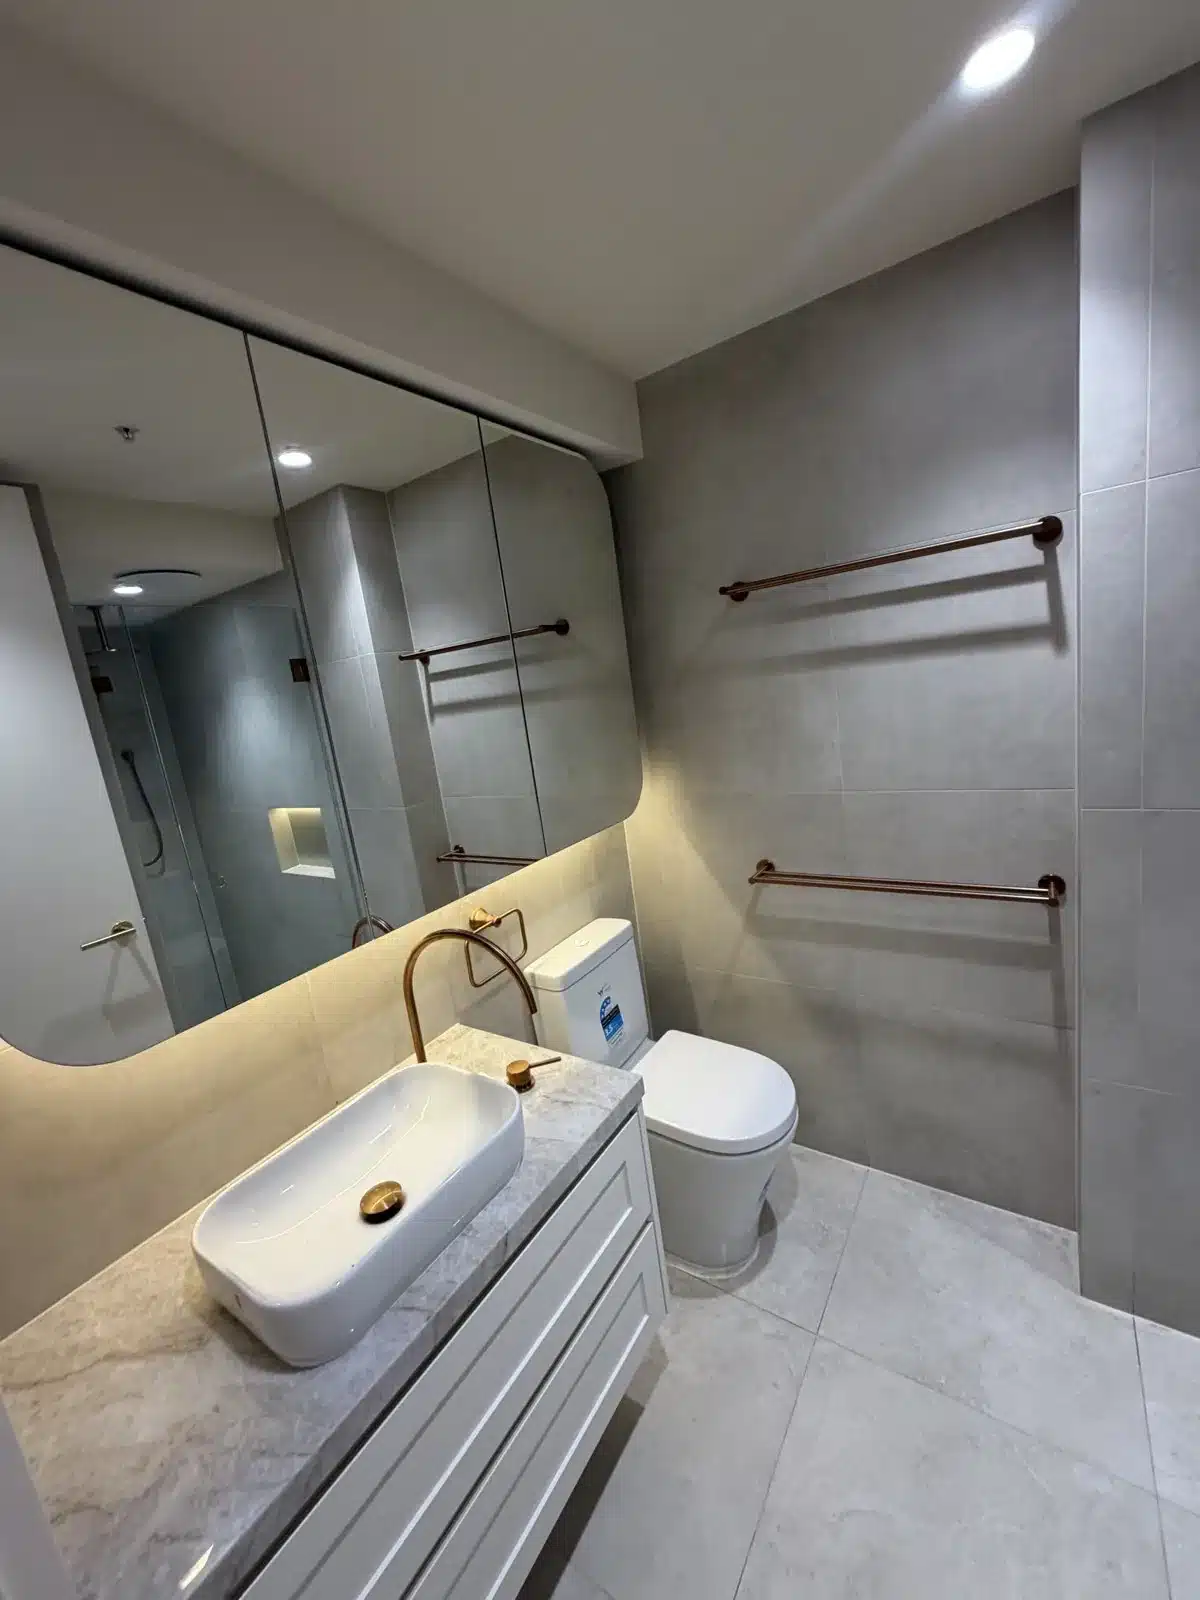
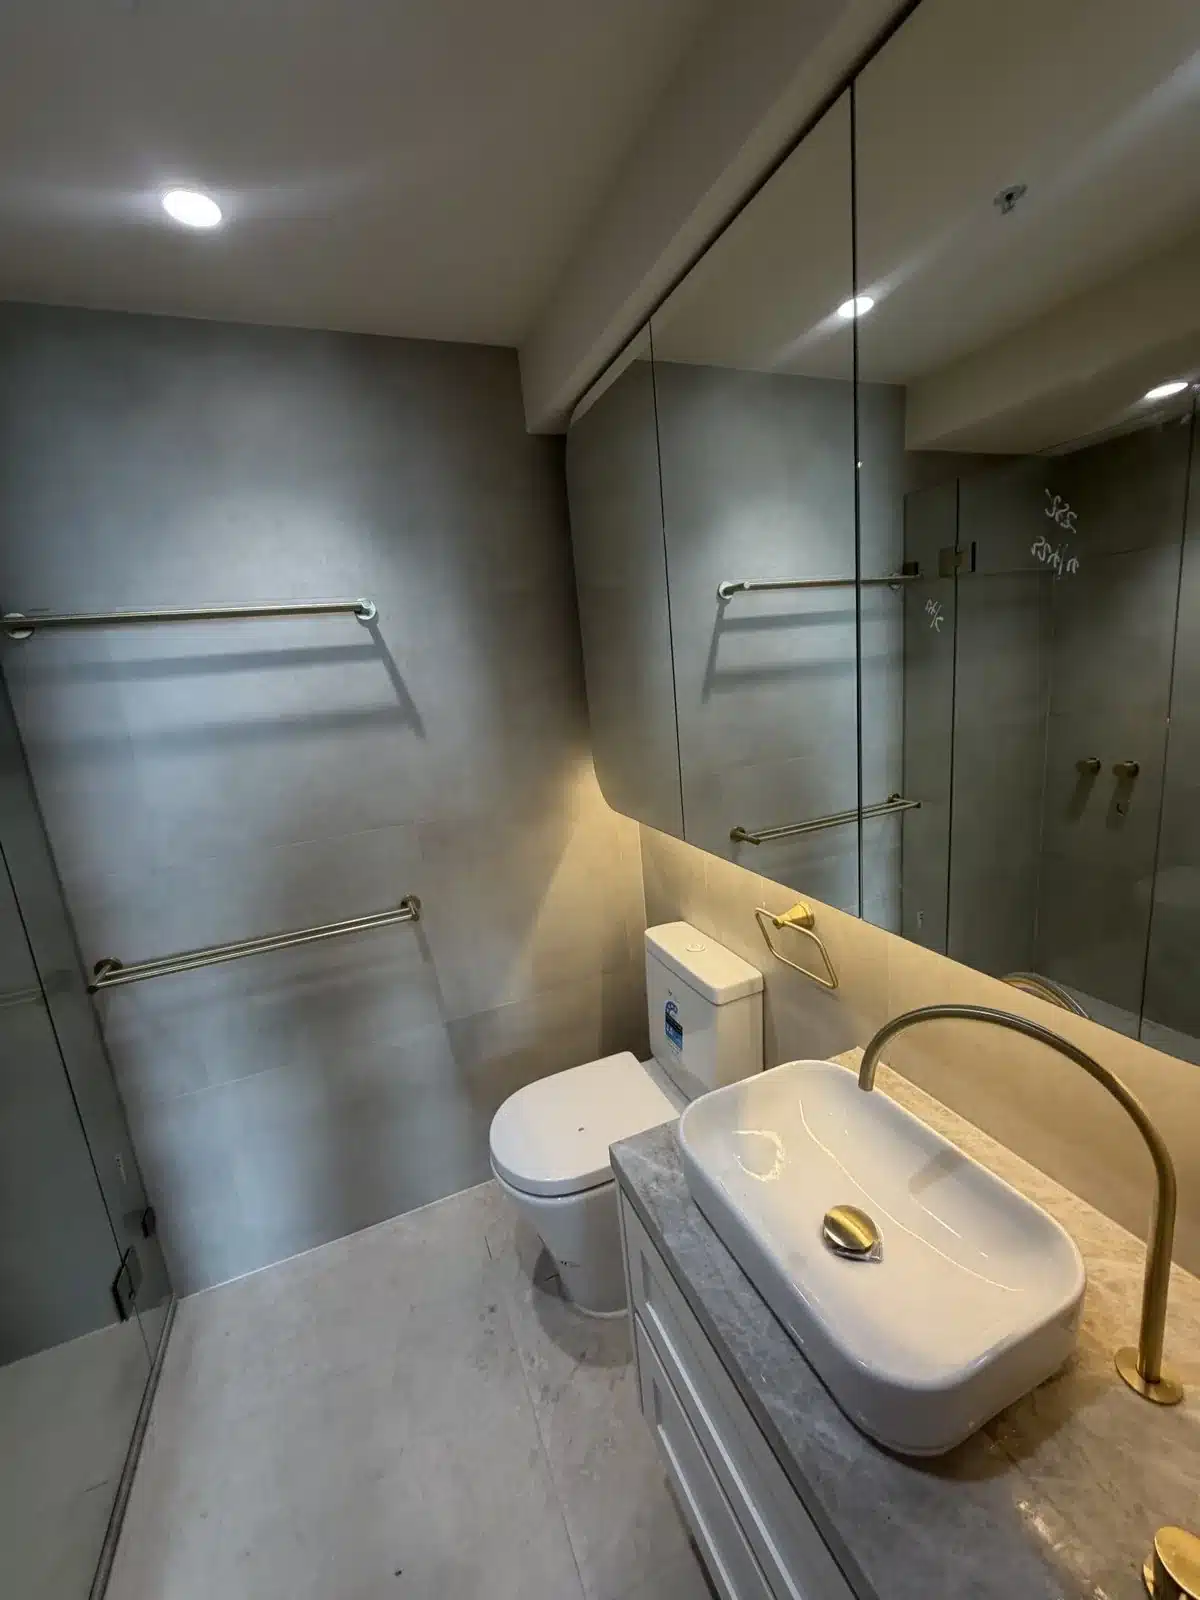
Two bathrooms, both with large format grey tiles, stone vanity tops, vessel basins and brushed tapware. Every one of those elements meets a tiled surface at some point.
We sealed the vanity top to the wall tile, the basin to the stone, the vanity carcass to the floor, and the toilet pan to the tile. Mould resistant silicone throughout, colour matched to the stone rather than the tile so the bead disappears into the lighter surface.
Why it matters: the pan to floor seal is the one most often skipped, and it is the one that causes the smell nobody can trace.
6. The showers: niches, screens and floor wastes
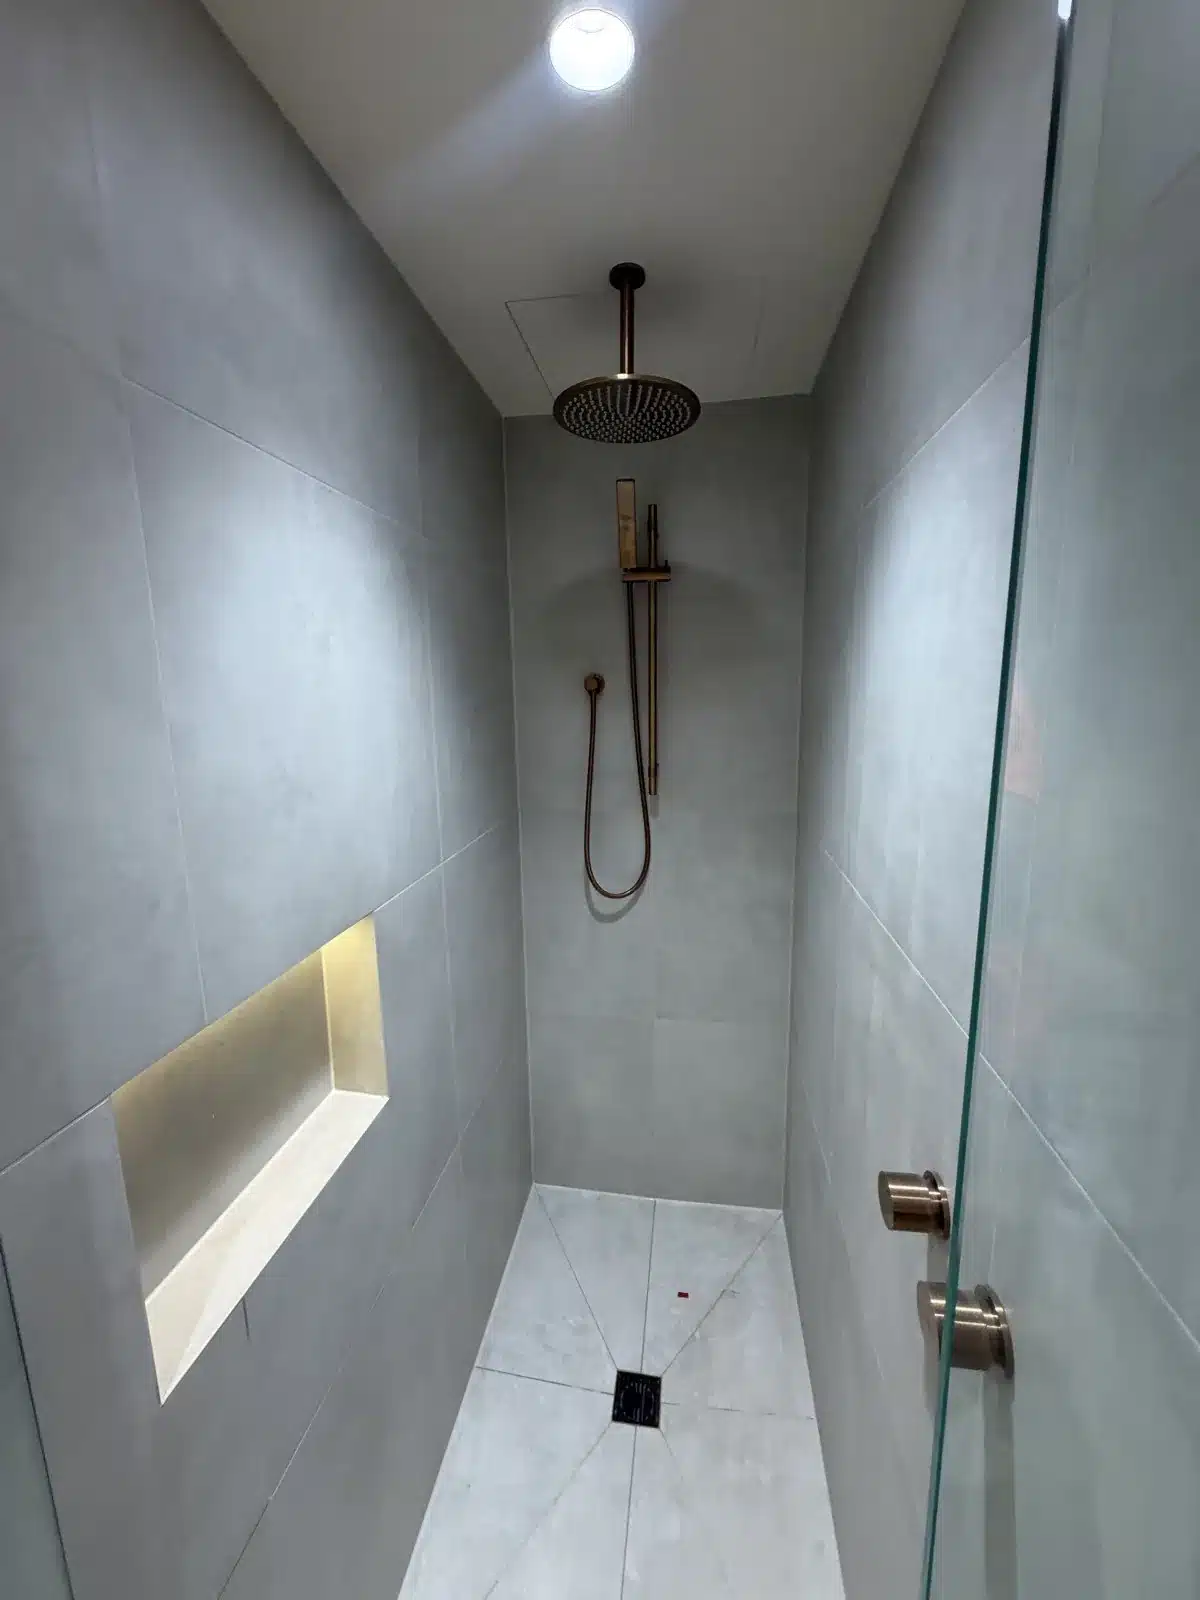
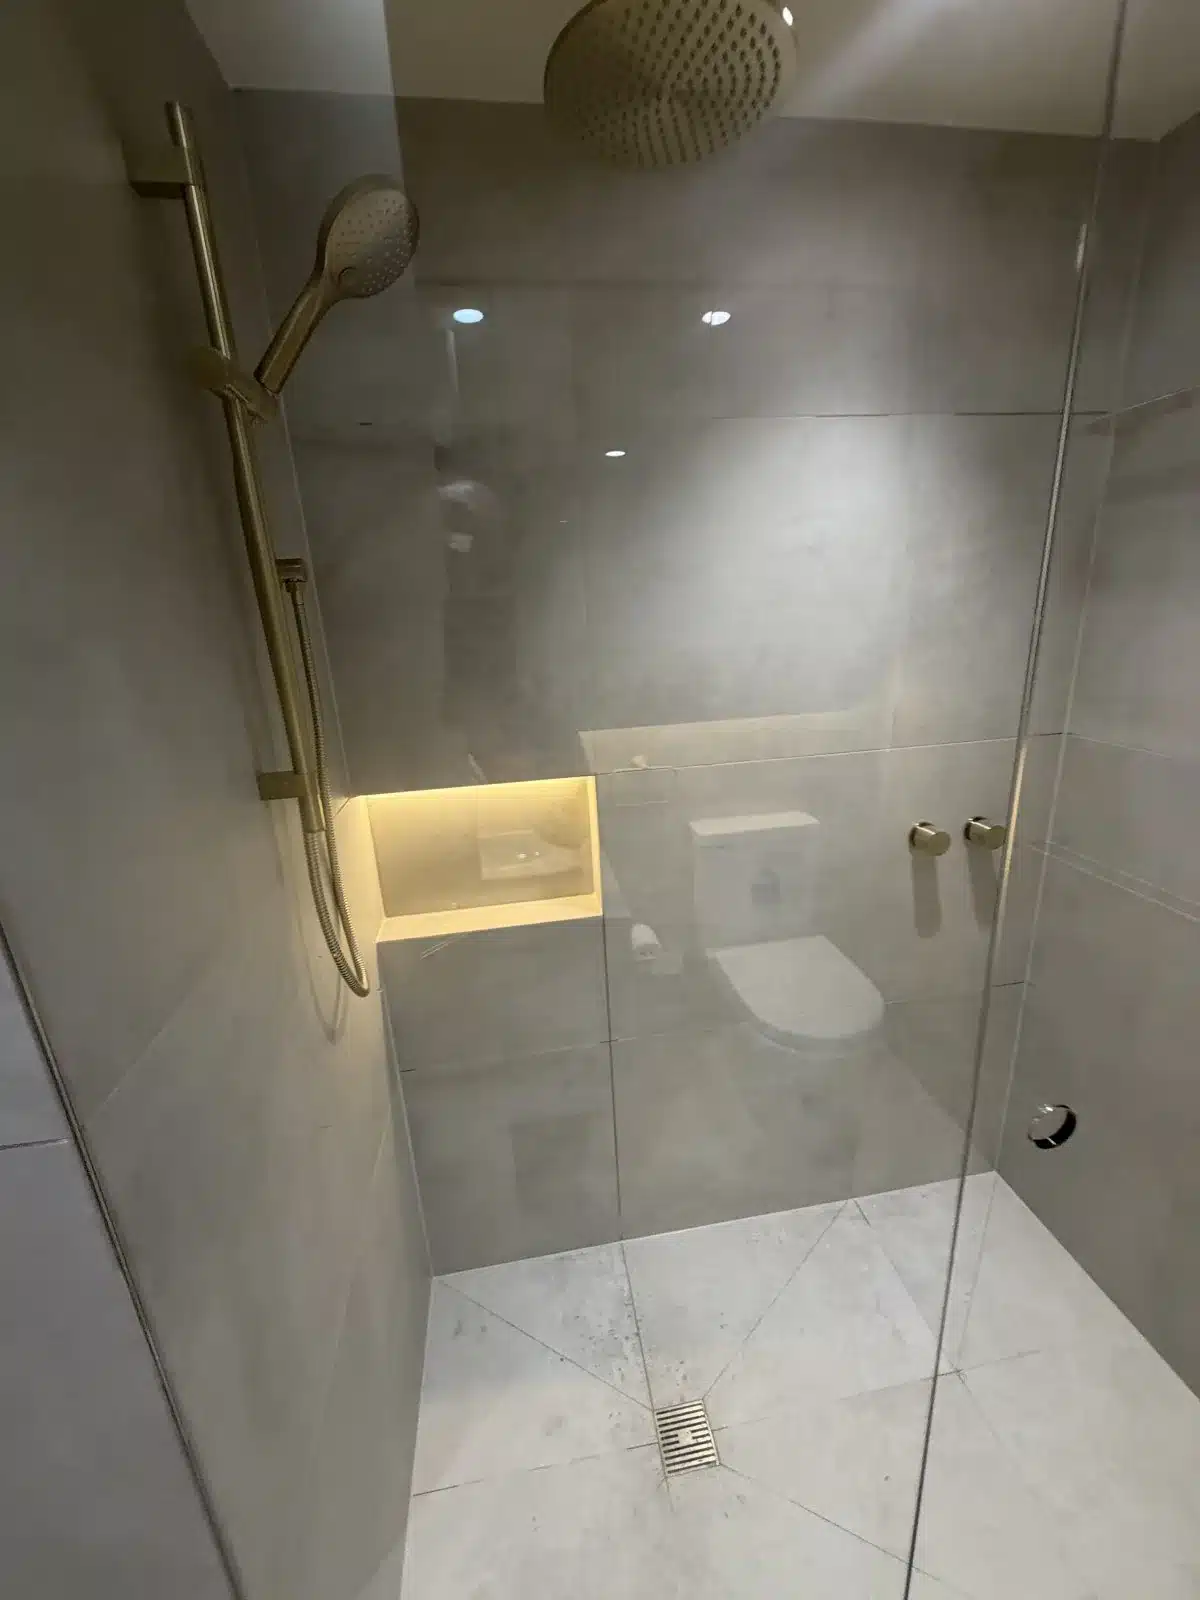
Both showers are walk in with frameless glass, a recessed lit niche and a central floor waste. These are the highest risk wet areas in the house.
We sealed the internal niche corners, the glass to tile junctions on both sides, the screen base, and the wall to floor junction around the waste. Wet area grade mould resistant silicone, tooled to a concave profile so water sheds instead of pooling on the bead.
Why it matters: silicone is not waterproofing, it is the layer protecting the waterproofing. When shower silicone fails, water reaches the membrane junctions and the repair stops being a caulking job and becomes a bathroom rebuild.
7. Skirtings, architraves and the stairwell
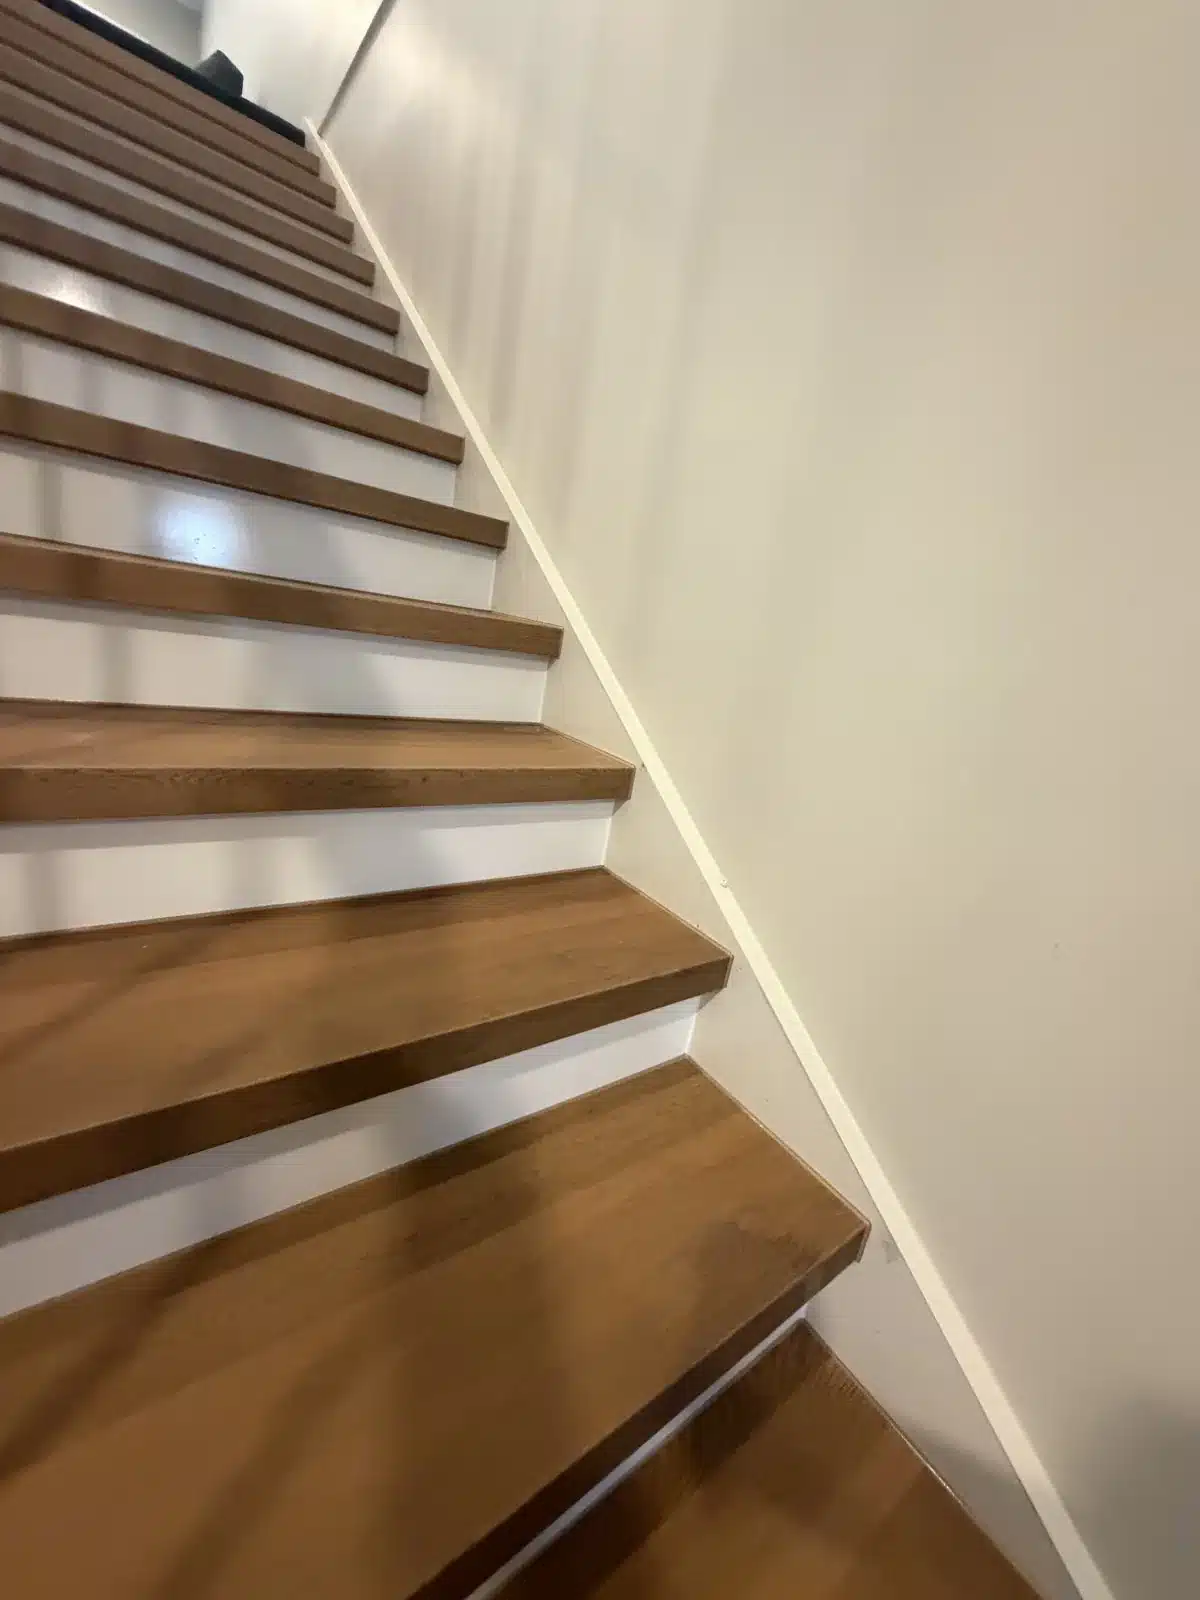
The timber stair runs against a white wall with a raking stringer, and the whole ground floor has skirtings meeting hardwood flooring.
We caulked the stringer to wall line, the skirting to wall gap through the living areas, and the architrave junctions. That raking line on a staircase is unforgiving because the eye follows it straight up, so it was run as one continuous bead.
Why it matters: skirting board caulking is one of the most searched caulking jobs in Australia for a reason. It is the cheapest visual upgrade in any home and the clearest sign of a careful finish.
Materials and Method
- Mould resistant neutral cure silicone in all wet areas
- Paintable, low shrinkage sealant on skirtings, architraves, reveals and stringers
- Colour matched silicone on stone, joinery and tile junctions
- Every surface cleaned and primed, residue removed, beads tooled wet in one pass
- Full cure before the house was handed back
FAQs
How long does internal caulking take on a house this size?
A full internal fitout of this scale is normally one to two days on site, depending on how much of the joinery and glass is already installed. Caulking goes in last, so the programme usually depends on the trades ahead of us rather than on us.
Can you caulk before the appliances and shower screens go in?
Some of it, but not the seals that matter most. Screens, sinks, cooktops and vanities all need to be in place first, otherwise the bead gets cut, dragged or contaminated during install and has to be redone.
What does a reseal cost?
It depends on the joint count rather than the room size. A single shower reseal starts from $250. Our shower resealing cost guide covers the detail.
Do you service Port Melbourne and the inner south?
Yes. We work across Port Melbourne, Albert Park, South Melbourne, Middle Park, Docklands, St Kilda and the rest of Melbourne. See our service areas.
Talk to Us About Your Fitout
If you are building or renovating in Port Melbourne or anywhere across Melbourne, we can seal the kitchen, the wet areas and all the internal trim in one visit, at the end of the programme where it belongs.
Professional Caulking Group has been caulking and waterproofing Melbourne homes for over seven years, with more than 580 five star Google reviews.
Call 0435 803 646 or request a quote online.