

On a new build, every surface you seal is the same age. On a renovation, it is not.
Professional Caulking Group recently completed the caulking across a renovated home in Diamond Creek, in Melbourne’s north-east near Eltham. The job covered a new architectural kitchen, a butler’s pantry, a new ensuite, an existing bathroom that was kept rather than replaced, and internal floor caulking throughout.
That mix is what made it interesting. In the same house, on the same visit, we were sealing freshly installed stone and joinery that had never been touched, and tiles that had been in place for years. Those are different jobs. New substrates are clean, dry and predictable. Older ones carry old sealant, soap residue, and movement that has already happened.
This post covers the 5 things that change when you caulk a renovation instead of a new build, and what we did in each area.
Quick answer: Caulking a renovation means working across new and existing surfaces in one job. New joinery and stone need masking and careful product selection because the finishes are delicate and unmarked. Existing wet areas need the old silicone fully removed and the joint cleaned and dried before anything new goes in, because new silicone will not bond to old. Skipping that removal is the single most common reason a reseal fails within months.
Project at a Glance
| Detail | This project |
|---|---|
| Suburb | Diamond Creek, Melbourne’s north-east |
| Property type | Renovated home, new and existing areas |
| Areas sealed | Kitchen, butler’s pantry, new ensuite, existing bathroom, internal floor perimeters |
| Key substrates | Engineered stone, timber veneer joinery, painted plaster, travertine-look porcelain, existing ceramic tile |
| New vs existing | New joinery and ensuite, existing bathroom retained |
| Sealant types | Neutral cure for stone, sanitary grade for wet areas |
This is a third distinct type of job from the two we published recently: the architectural new build in Balwyn North, where the challenge was one-off details, and the four identical townhouses in Carlton, where it was consistency at volume. Here it was working across two different ages of building in one house.
5 Things That Change When You Caulk a Renovation
1. Appliances go in after the stone, and the seal has to follow
A cooktop set into a stone benchtop is sealed once the unit is in, not before. The bead runs around the cutout, tight to the appliance edge, and it has to be neat because it sits at eye level on a horizontal surface in the most-used part of the kitchen. On a renovation this often happens after the kitchen is already in use, so there is no clear site and no margin for mess.
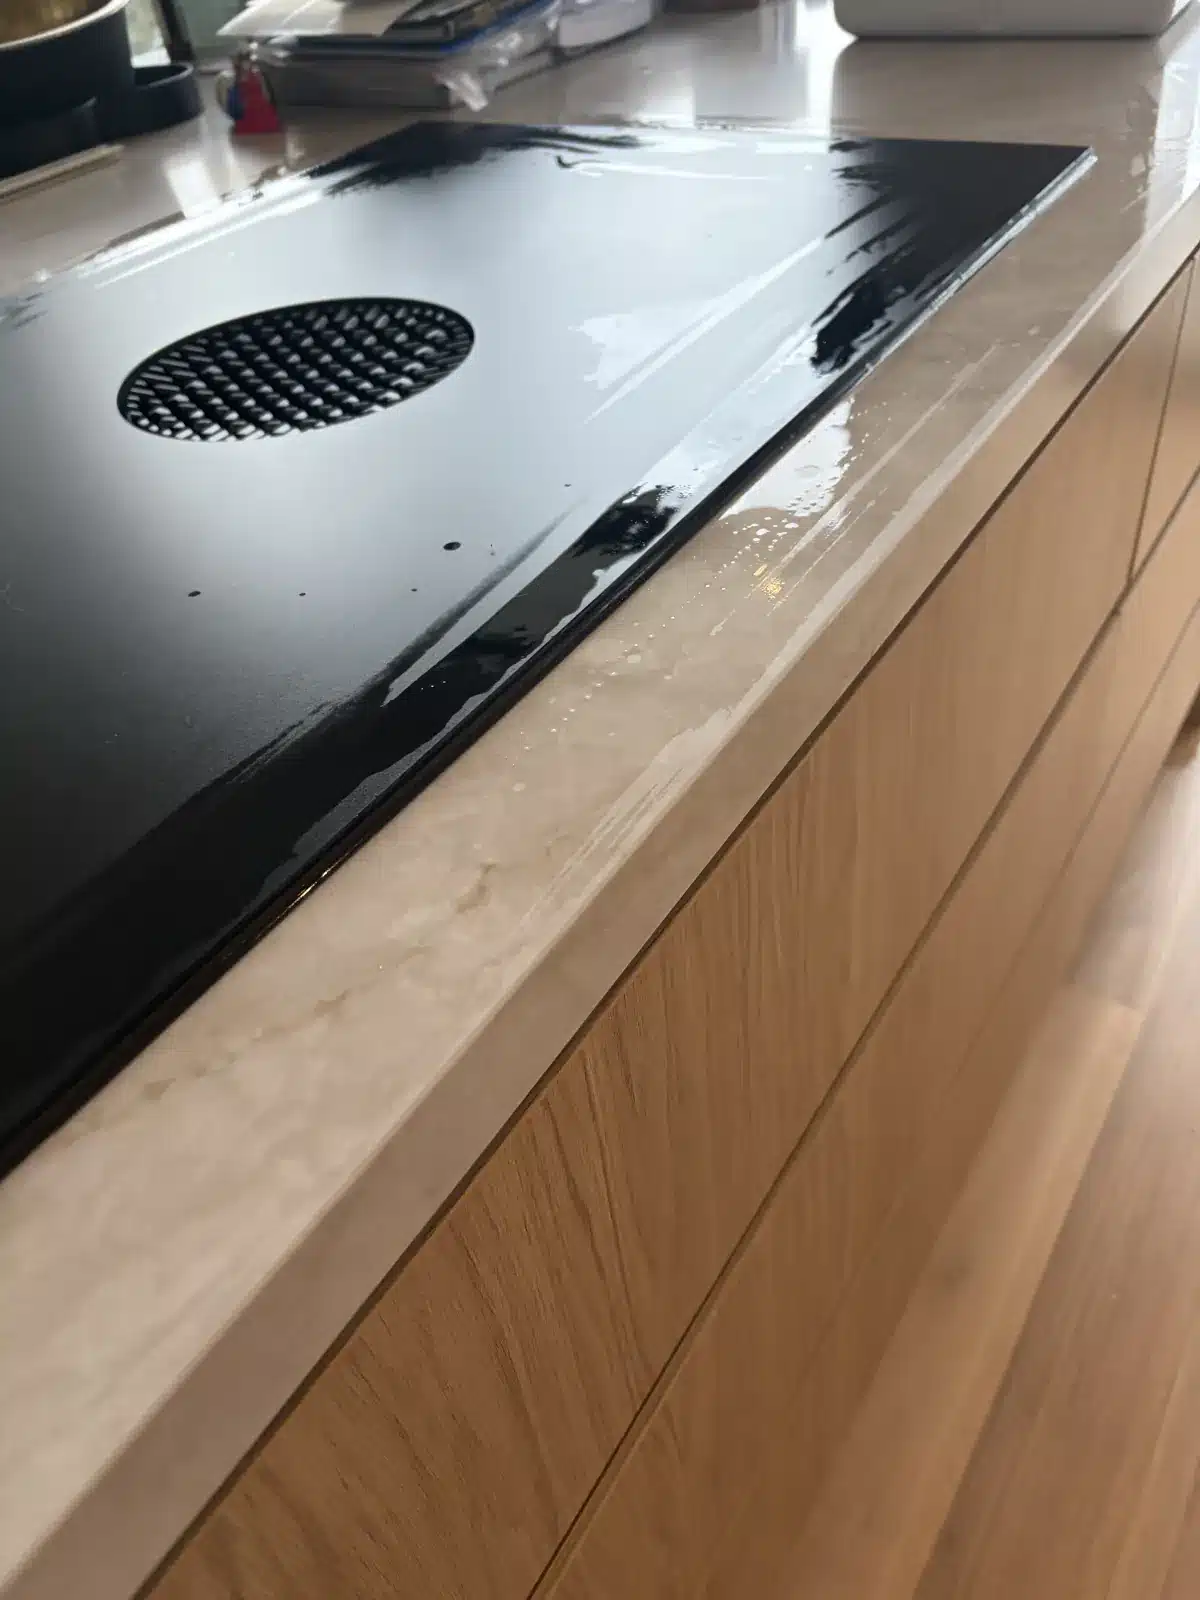
2. New finishes are unmarked, and everything shows
Freshly installed stone and veneer have never been cleaned, scuffed or touched up. Any smear, any overrun, any fingerprint in the sealant is the first mark on that surface. Every joint gets masked both sides, and the tape comes off while the bead is still wet.
3. New joints are square and tight, old ones are not
A new junction between joinery and a painted wall is straight, consistent and a known width. Twenty years of movement does not leave you that. Older joints vary along their length, which means varying the bead to match while keeping it looking even.
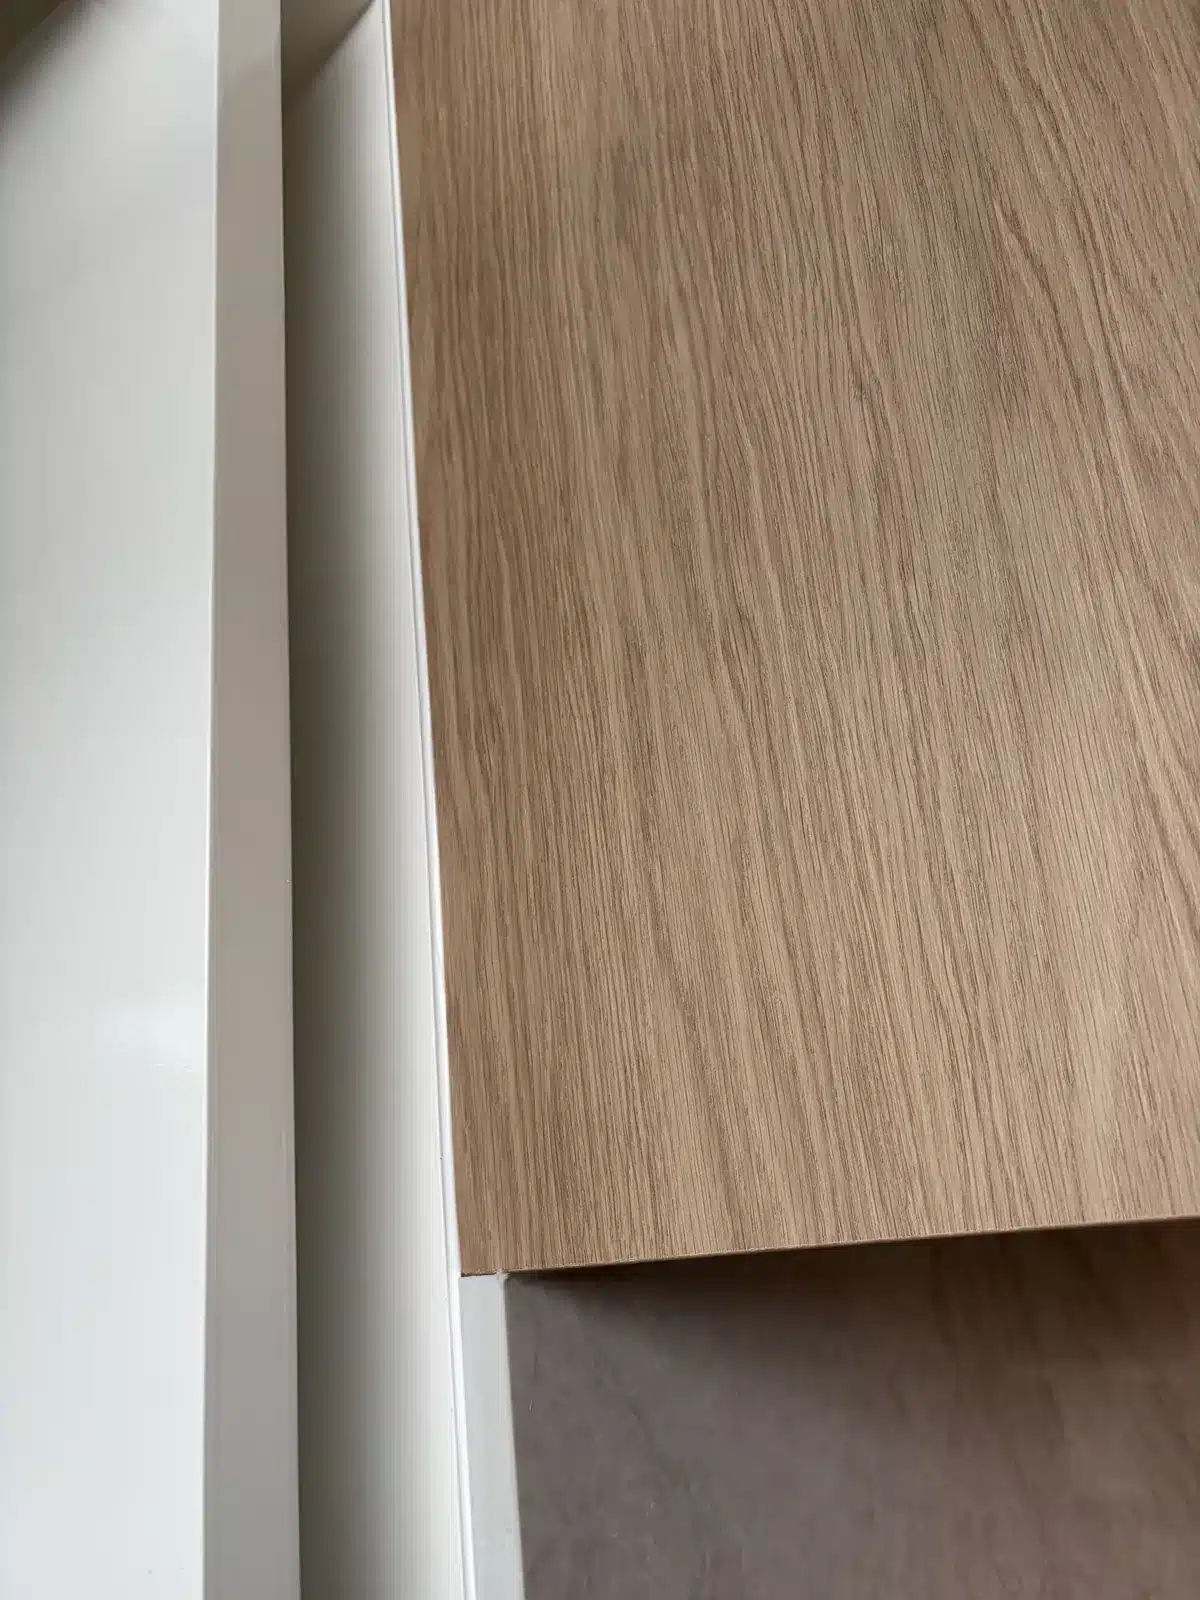
4. Old silicone has to come out completely
This is the big one and it is where most reseals fail. New silicone will not bond to old silicone. Not partially, not with a good primer, not if you scuff it first. The old material has to be cut out, the residue removed, and the joint cleaned and fully dried before anything new goes in. Done properly it is the slowest part of the job. Skipped, the new bead lifts within months and the homeowner concludes that resealing does not work.
5. Soap, cleaning products and body oils contaminate the joint
An existing shower has years of residue in the joint, invisible once the old silicone is out. Sealant will not adhere to it. The joint needs cleaning with the right solvent, not just a wipe, and it needs to be dry before application. A bathroom that has been used that morning is not ready to be resealed that afternoon.
None of this applies on a new build, where every surface arrives clean and no one has showered in it yet. It is the entire difference between the two kinds of job.
The Kitchen
The main kitchen runs pale oak veneer overheads above a stone benchtop with a full-height matching stone splashback, an undermount sink and integrated appliances.
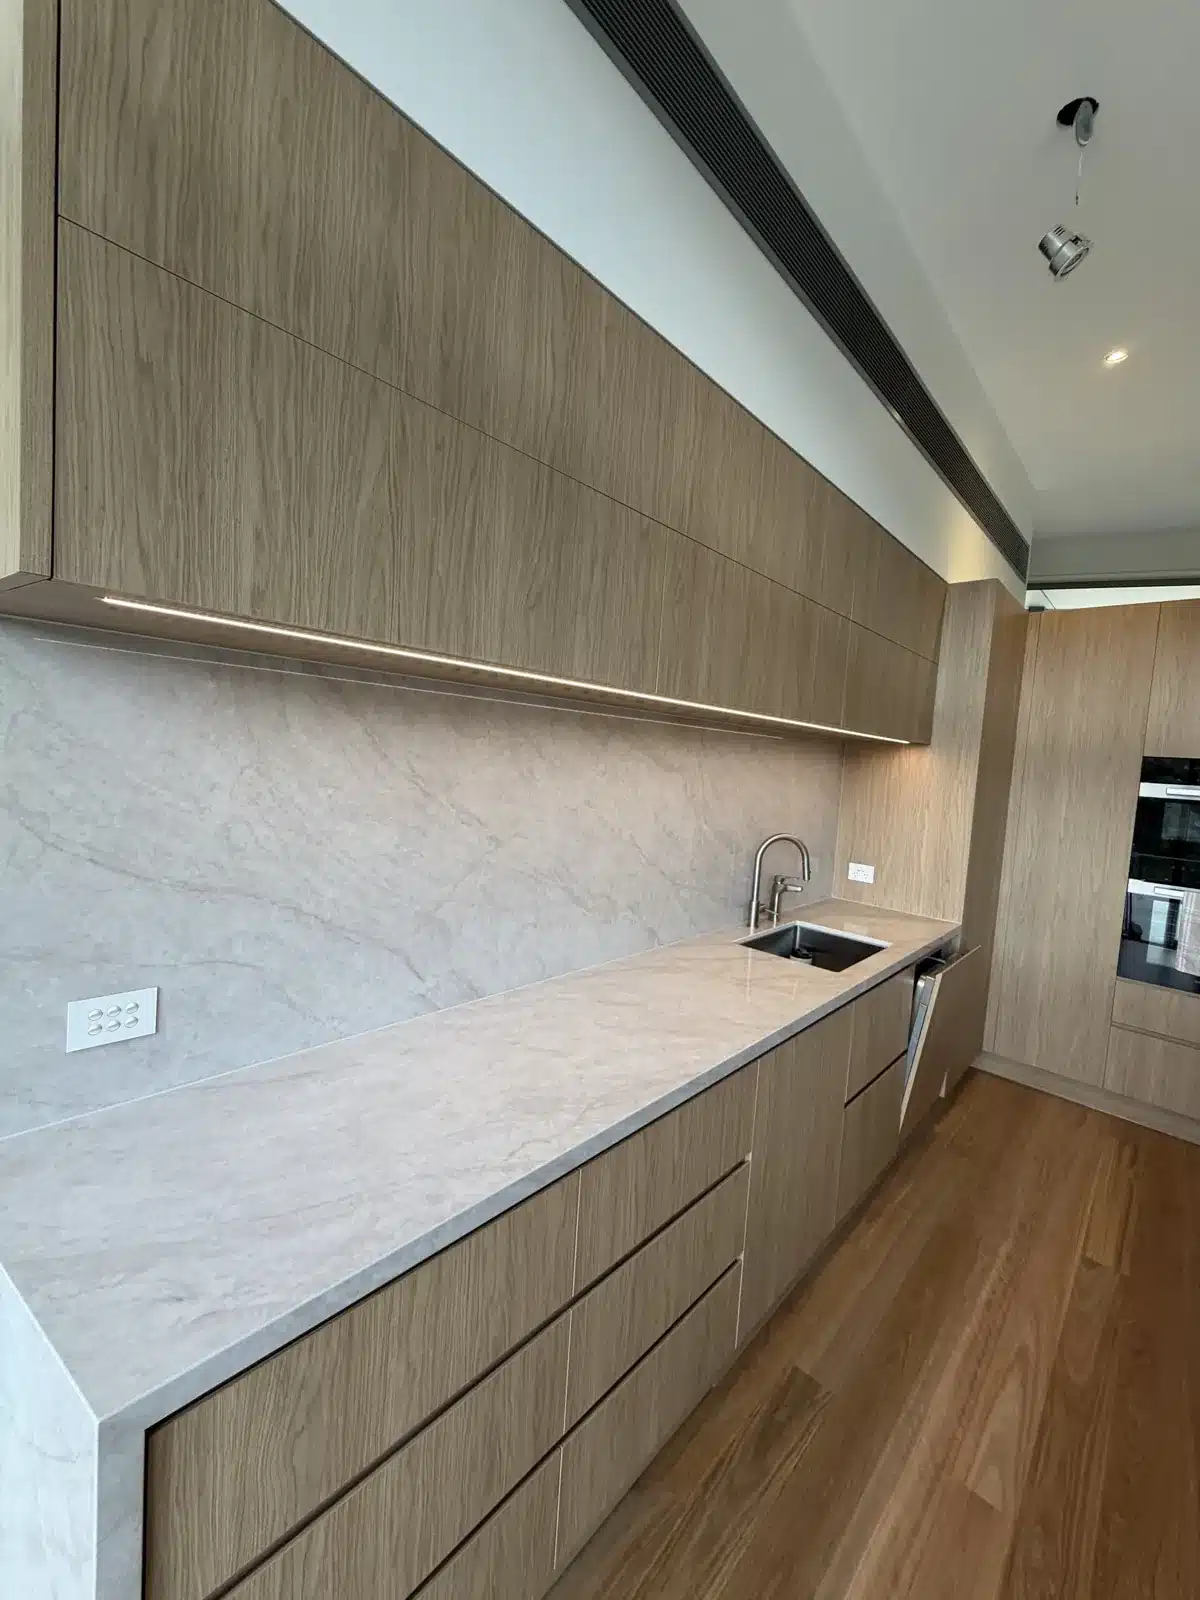
The joints sealed here:
- Benchtop to full-height splashback, the longest and most visible run in the room
- Splashback to the underside of the overhead joinery, where the LED reveal sits
- Undermount sink rim to stone
- Around the cooktop cutout once the appliance was in
- Benchtop end returns and waterfall edges
- Joinery to wall and joinery to floor junctions

The benchtop to splashback line is the one that matters most. It runs the full length of the kitchen, it is lit directly by the strip light above it, and it is at eye level for anyone standing at the bench. Against a pale stone with soft veining, sealant colour has to be matched properly or the joint reads as a grey stripe across the whole run.
The Butler’s Pantry
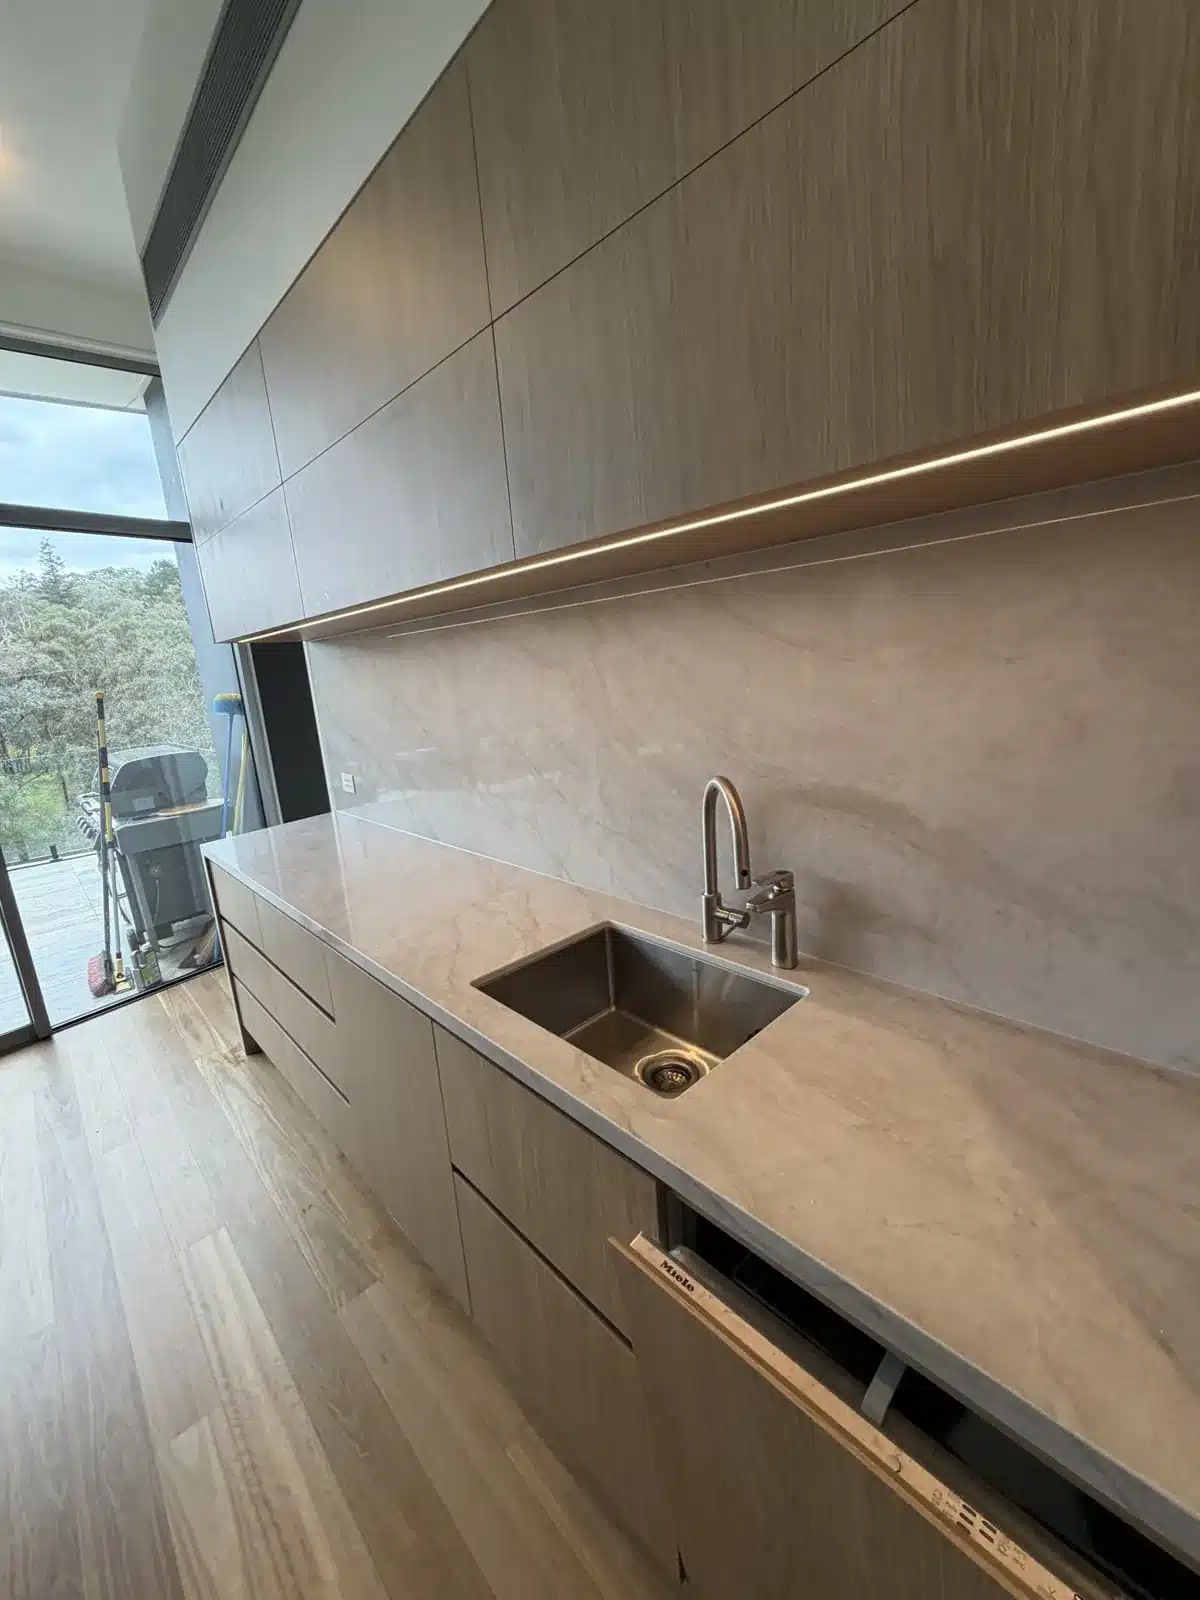
The scullery repeats the same specification on a smaller scale: second sink, stone benchtop and splashback, more oak joinery, and full-height glazing looking into bushland.

Same joints, same products. The difference is access. A butler’s pantry is a narrow room, usually the last space finished, and it is often where the fridge and the boxes end up during a renovation. Getting a clean bead in a confined space with limited working room is harder than doing the same joint in an open kitchen, and it is routinely rushed because nobody sees it.
The New Ensuite
The new ensuite uses a travertine-look porcelain throughout, with an arched niche, a built-in bench seat and a frameless shower screen.
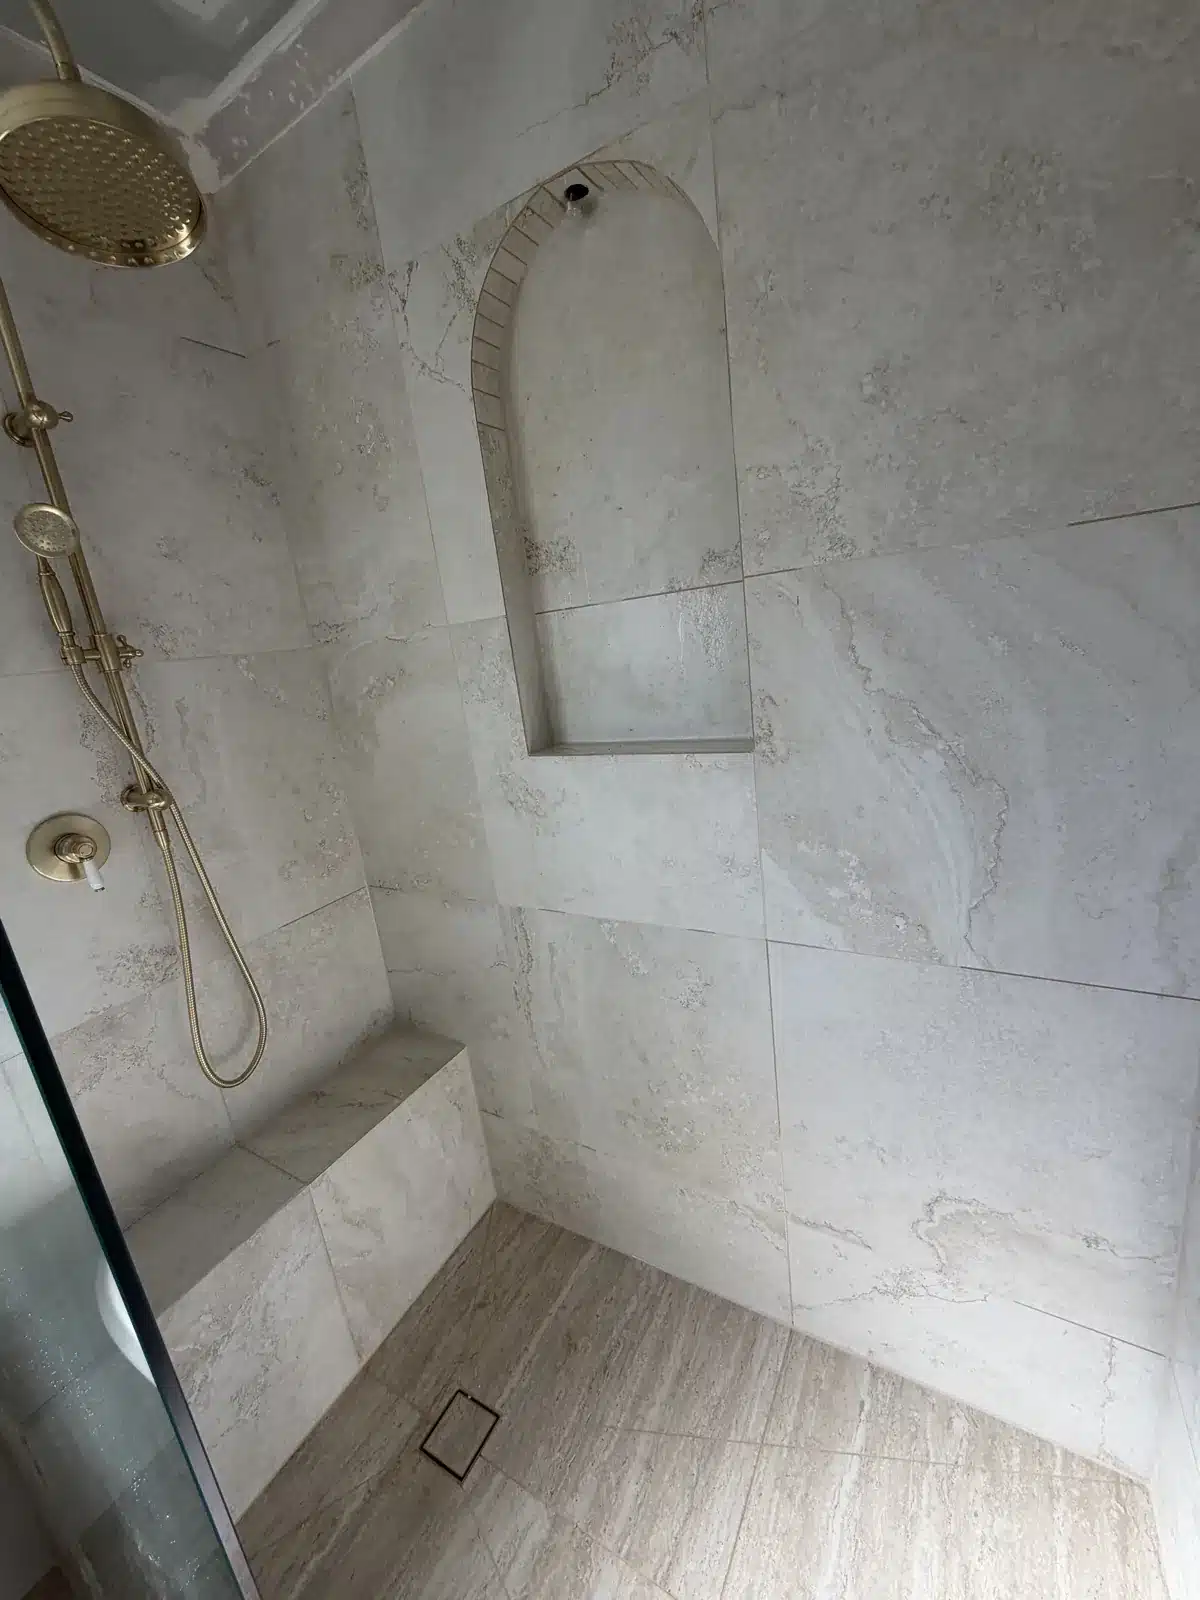
The arched niche and the bench are the two details worth calling out. A curved niche opening cannot be tooled in a straight pass, so the bead is worked in short overlapping sections around the arch. A built-in bench has horizontal surfaces that hold water, so the junctions where it meets the wall and floor matter more than a standard wall-to-floor line.
Everything in there used a sanitary grade sealant with a mould inhibitor, and the frameless screen was sealed at both the vertical and the base.
The Existing Bathroom
The retained bathroom is a different proposition entirely: terracotta floor tiles, sage green wall tiles, a timber vanity with a drop-in basin, and a shower that has been in use for years.
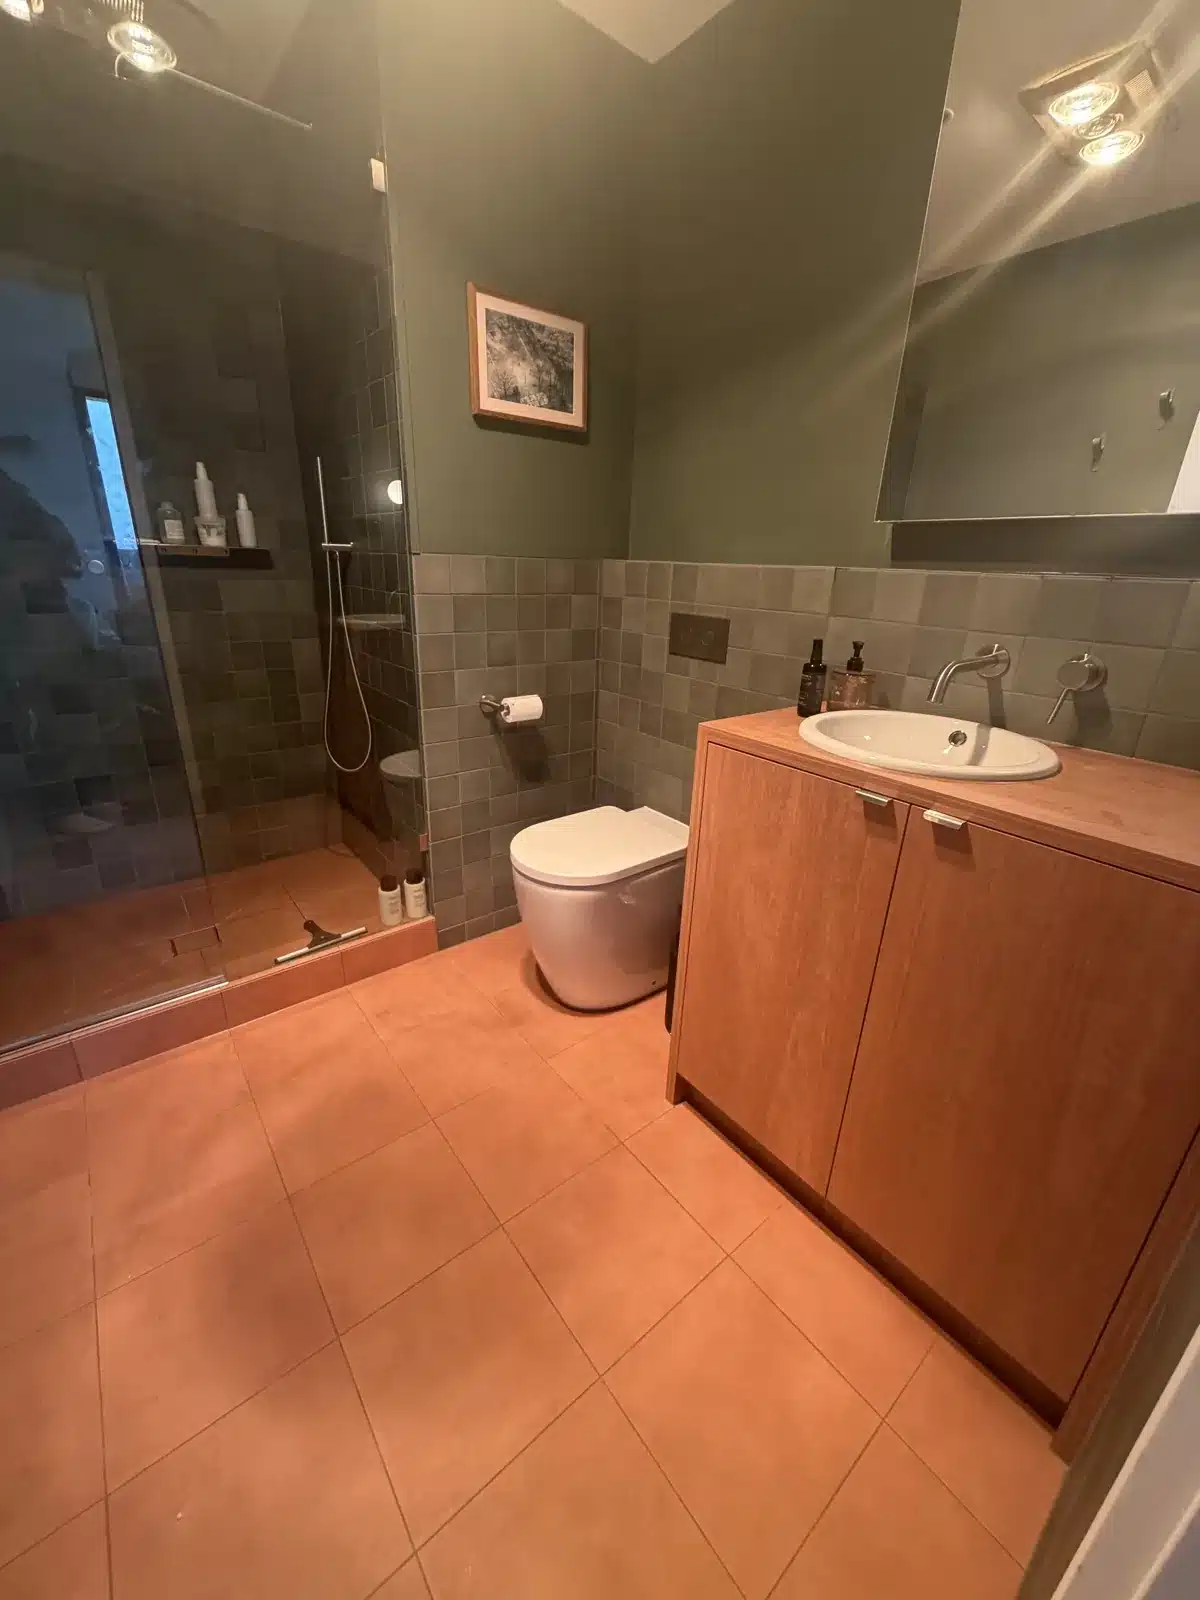
The work here was removal first. Old silicone cut out, residue cleaned off, joints dried, and only then resealed. As covered above, that preparation is most of the job, and it is what separates a reseal that lasts a decade from one that lifts by autumn.
It is also worth saying what a reseal does not do. If a bathroom of this age is showing damp outside the room, in the ceiling below or in an adjoining wall, the waterproofing membrane is the more likely cause and new silicone will not fix it. Our guide on whether a bathroom leak is the silicone or the waterproofing covers how to tell the difference.
Internal Floor Caulking
The job also covered internal floor caulking throughout, which is the part of a caulking scope homeowners rarely think about and builders always specify.
Timber and engineered flooring needs a perimeter expansion gap so it can move with humidity. Without it, boards cup or lift. Floor caulking seals that gap and finishes the junction where the floor meets the wall or the joinery, and it also handles transitions between different flooring types, which on this property means timber to tile.
What gets sealed:
- Perimeter joints where flooring meets walls and joinery kickboards
- Transitions between timber and tiled areas
- Junctions at door thresholds
- Floor to skirting lines where the detail calls for it
On a renovation this is more involved than on a new build, because new flooring in the extended areas has to meet existing flooring that has already moved and settled. The gap width is rarely consistent across the two, so the bead has to vary while still reading as a single even line.
Quick Roundup: New Work vs Existing Work
| New joinery and wet areas | Existing wet areas | |
|---|---|---|
| Main task | Apply a clean first seal | Remove the old seal, then reapply |
| Where the time goes | Masking and protecting finishes | Cutting out and cleaning the joint |
| Biggest risk | Marking an unblemished surface | New silicone failing to bond to old |
| Joint condition | Square, consistent, known width | Variable, moved, often contaminated |
| Preparation | Clean and dry already | Solvent clean, must be fully dry |
| If done badly | Visible, but cosmetic | Lifts within months, has to be redone |
The pattern across both halves is the same. On new work the risk is cosmetic damage you cannot undo. On existing work the risk is a seal that fails because the preparation was rushed.
Renovation Caulking FAQs
When should caulking be scheduled in a renovation?
After joinery, stone, tiling and glazing are installed and after appliances are in, but before the final clean. Too early and other trades disturb it. On a renovation this often means two visits, because the new areas and the existing ones finish at different times.
Can you reseal an existing bathroom while we are living in the house?
Yes, that is normal on renovations. The main thing to plan around is cure time. Silicone is touch dry in a few hours but needs longer before heavy water exposure, so the shower is usually out of action overnight.
Can you caulk over the existing silicone to save time?
No. New silicone does not bond to old silicone, so it lifts, usually within months. Any contractor offering this is saving their own time rather than yours.
Do you work with builders on renovation projects?
Yes. Most of our renovation work comes through builders at the finishing stage, and we work to the site programme rather than fixing a date months out.
What does a reseal cost?
It depends on the joint count rather than the room size. A single shower reseal starts from $250. Our shower resealing cost guide covers the detail.
Do you service Diamond Creek and Eltham?
Yes. We work across Diamond Creek, Eltham, Greensborough, Doreen, Mill Park, Lower Plenty, Research and the rest of Melbourne. See our service areas.
Talk to Us About Your Renovation
If you are renovating in Diamond Creek, Eltham or anywhere across Melbourne’s north-east, we can seal the new work and bring the retained areas back to the same standard, in one job.
Professional Caulking Group has been caulking and waterproofing Melbourne homes for over seven years, with more than 580 five star Google reviews.
Call 0435 803 646 or request a quote online.