

A bead of silicone looks like the easiest job in the bathroom. One tube, one gun, ten minutes. Then it peels at the corner by winter and goes black by spring.
The gun work is the small part. Whether a bead lasts two years or ten is decided before the tube is opened. This guide covers how to caulk a bathroom or shower from new, how to recaulk an old one, and what the difference between the two means for the job.
Quick answer: To caulk a shower or bathroom, clean and fully dry the joint, mask both sides, run a steady bead of mould resistant neutral cure silicone, tool it to a slim concave finish, pull the tape before the silicone skins, and keep water off it for 24 hours. Recaulking is the same job with one extra stage at the start: every trace of the old sealant has to come out first. New silicone will not bond to old silicone.
Caulking vs Recaulking: What Is the Difference?
Caulking is sealing a joint for the first time, usually at the end of a new build or renovation. Recaulking, or resealing, is removing sealant that has failed and replacing it. The bead you finish with is the same. The work to get there is not.
| Caulking | Recaulking | |
|---|---|---|
| When | New bathroom, renovation or fitout | Existing bathroom with failed, mouldy or lifting sealant |
| Starting point | Clean, dry, new surfaces | Old sealant, soap scum, mould and often moisture in the joint |
| Extra work | None | Cut out the old bead, strip the residue, treat mould, dry the joint |
| Biggest risk | Sealing before trades have finished | Sealing over residue or a damp joint, so the new bead lets go |
| Typical DIY time | A couple of hours | Half a day or more, plus drying time |
Not sure which one you need? Our guide to the 7 signs your bathroom caulking needs replacing covers what failed sealant looks like.
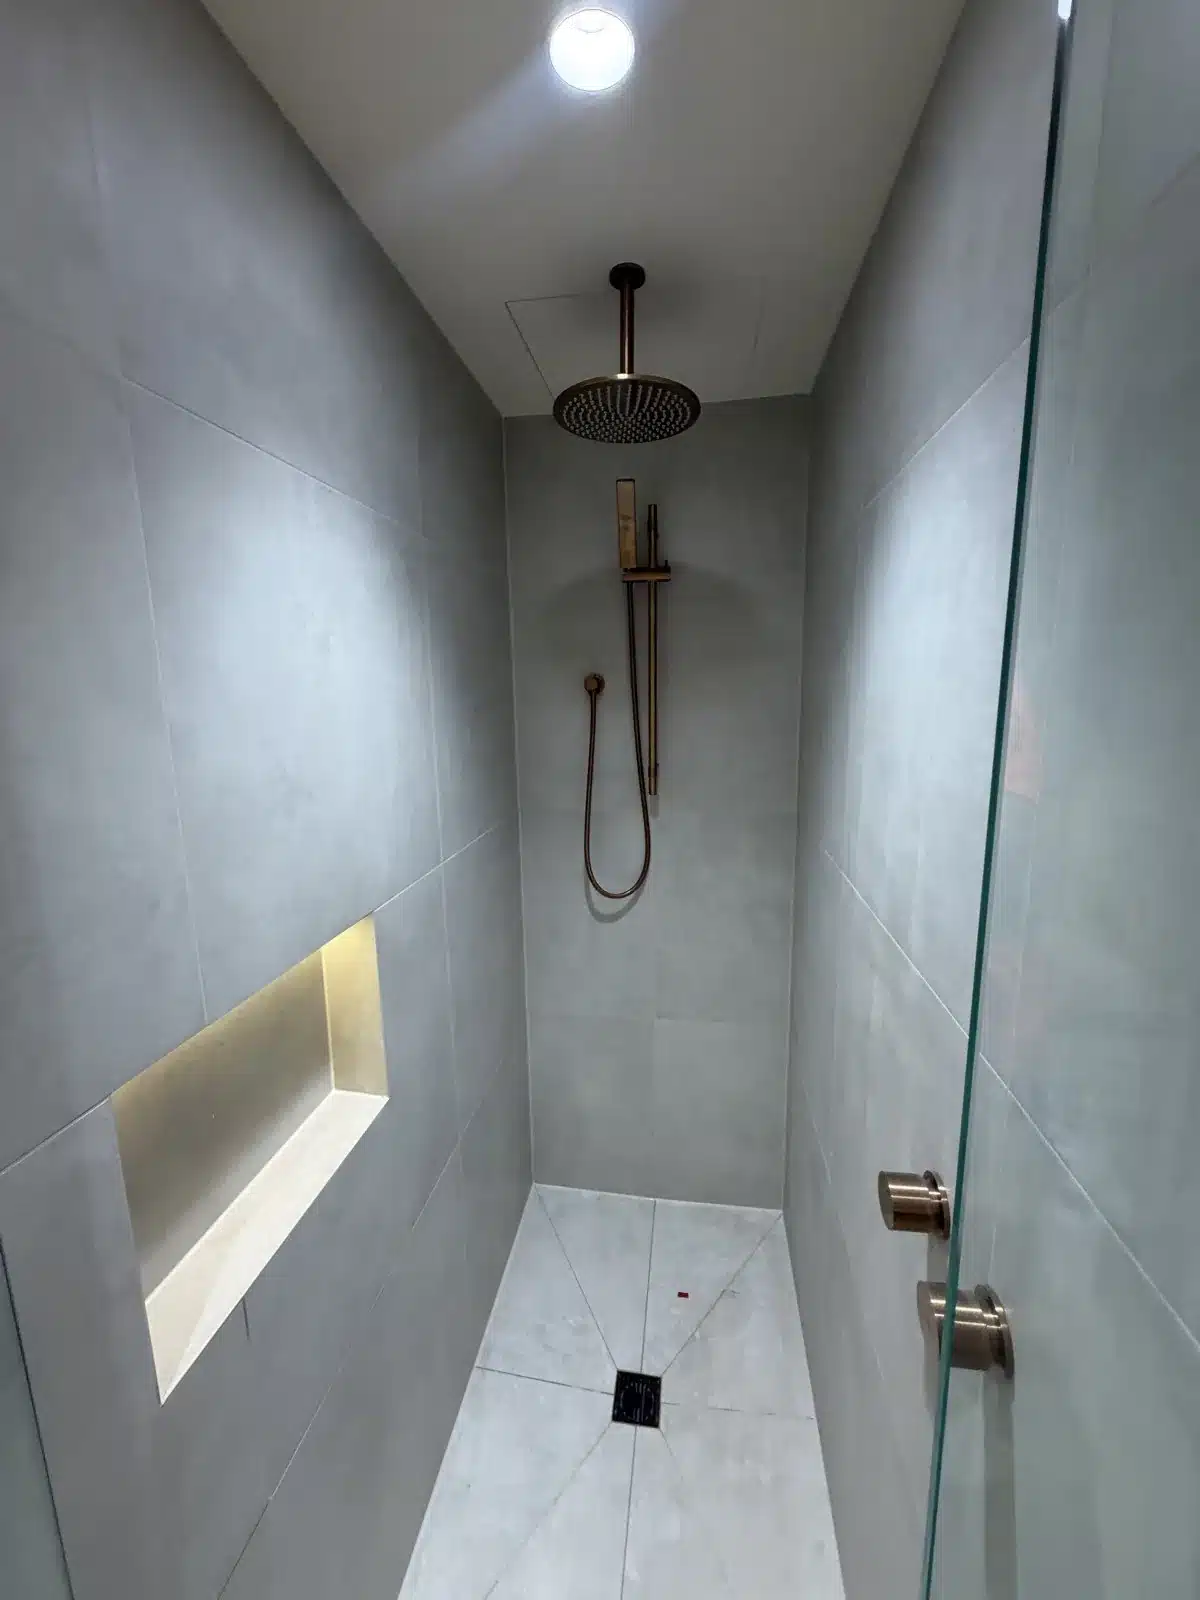
Use Silicone in Wet Areas, Not Gap Filler
In Australia, the word caulk gets used for two different products. Only one of them belongs in a shower.
| Product | Where it goes | Where it does not |
|---|---|---|
| Neutral cure sanitary silicone (mould resistant) | Showers, baths, basins, vanities, wall to floor junctions, shower screens | Joints that will be painted |
| Acrylic gap filler (painter’s caulk) | Skirtings, architraves and cornices that will be painted | Anywhere water sits. It softens, shrinks and grows mould |
| Grout | The flat joints between tiles | Internal corners and wall to floor junctions. These move, and grout cracks |
If the grout has cracked along a corner of your shower, that is normal. Corners are movement joints. They should be raked out and sealed with silicone, not regrouted.
What You Need
- Mould resistant neutral cure silicone in a colour matched to the grout or tile
- A good quality caulking gun with a smooth trigger
- A sharp utility knife or a silicone removal tool
- Silicone remover for the residue (recaulking only)
- Methylated spirits or isopropyl alcohol, and clean lint free cloths
- Painter’s masking tape
- A profiling tool, plus a spray bottle of water with a drop of dishwashing liquid
- Paper towel and a rubbish bag within reach
How to Recaulk a Bathroom: Removing the Old Sealant
Skip this section if the bathroom is new. If you are resealing, this is where most of the time goes, and where most DIY jobs fail.
1. Cut out the old bead
Run a sharp blade along both edges of the bead, keeping the blade flat to the surface so it does not scratch the tile, bath or screen. Pull the sealant out in long strips. Take extra care on acrylic baths and shower bases, which mark easily.
2. Strip the residue
A thin film of old silicone always stays behind, and it is the reason new beads peel. Apply silicone remover, give it the time on the label, then scrape and wipe until the surface no longer feels slippery.
3. Treat the mould
If the old bead was black, the mould is in the joint as well as on the sealant. Clean it out with a mould treatment and rinse well. Sealing over live mould means it grows back through the new bead from behind.
4. Let the joint dry properly
This is the step people rush. Water sits in the joint behind the old sealant, and silicone will not bond to a damp surface. Leave the shower unused for at least 24 hours before sealing, longer in winter, and use a fan or heater to help.
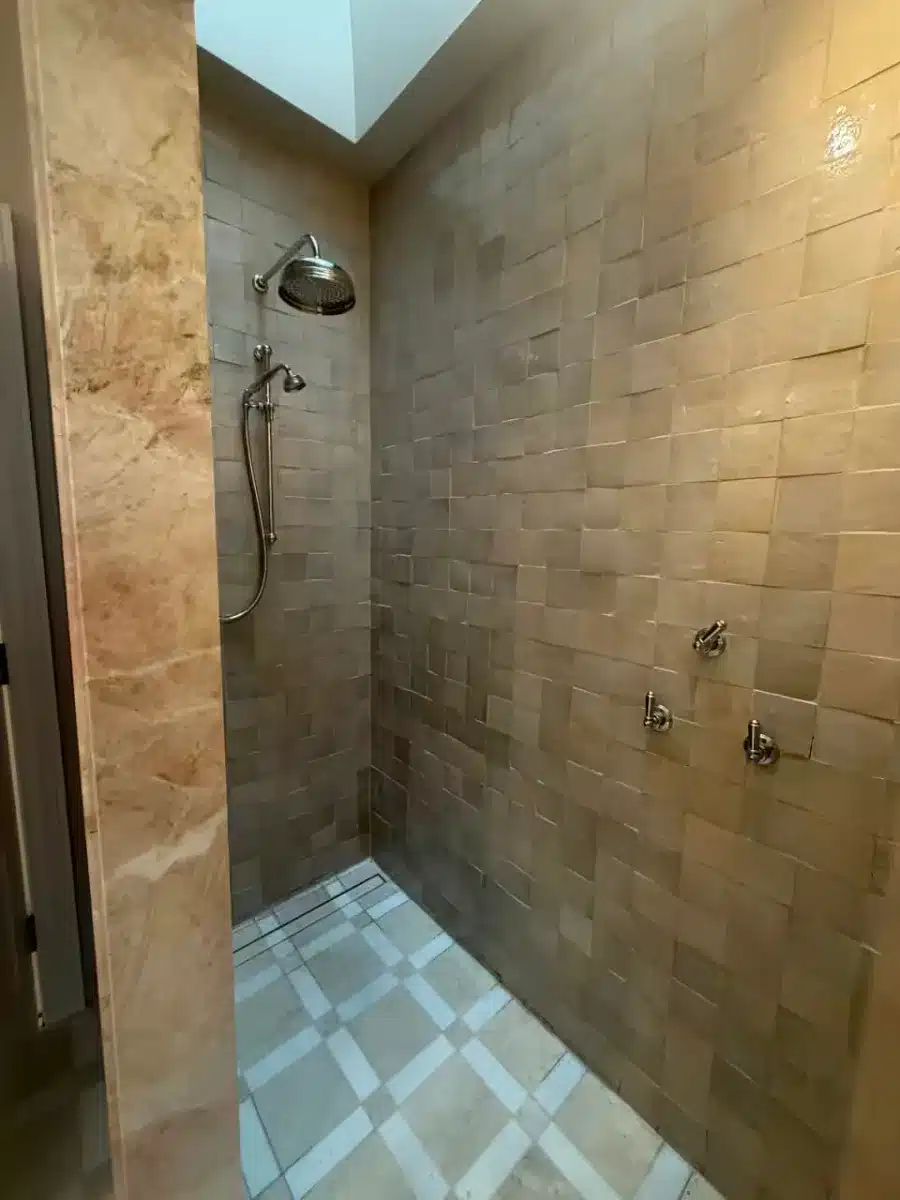
How to Caulk a Bathroom or Shower: Step by Step
From here the process is the same whether you are working out how to silicone a shower for the first time or how to reseal a shower that has failed.
1. Clean and degrease
Wipe both sides of the joint with methylated spirits or isopropyl alcohol on a clean cloth. Builder’s dust, soap film and fingerprints all stop silicone bonding. Let it flash off completely.
2. Mask both sides
Run tape along both edges of the joint, leaving a gap a few millimetres wider than the joint itself. Tape gives you a straight edge and keeps silicone off stone, timber and matt tiles that are hard to clean.
3. Cut the nozzle to suit the joint
Cut the nozzle at 45 degrees, with an opening slightly smaller than the joint. Most beads go wrong because the nozzle was cut too big and the joint was flooded.
4. Run the bead in one pass
Hold the gun at 45 degrees and move at a steady pace with even pressure, pushing silicone into the joint rather than laying it on top. Work one wall or one run at a time so the silicone does not skin before you tool it.
5. Tool it
Mist the bead lightly with the soapy water, then draw the profiling tool along it in one continuous stroke. You are aiming for a slim concave bead that is pressed firmly onto both surfaces, so water sheds off it instead of sitting on it.
6. Pull the tape straight away
Remove the tape within about ten minutes, before the silicone skins, pulling it back and away from the bead. Leave it too long and the edge tears.
7. Leave it to cure
Keep water off the bead for a full 24 hours, and leave the exhaust fan running or a window open. Our guide on how long silicone takes to dry explains why dry to touch is not the same as cured.
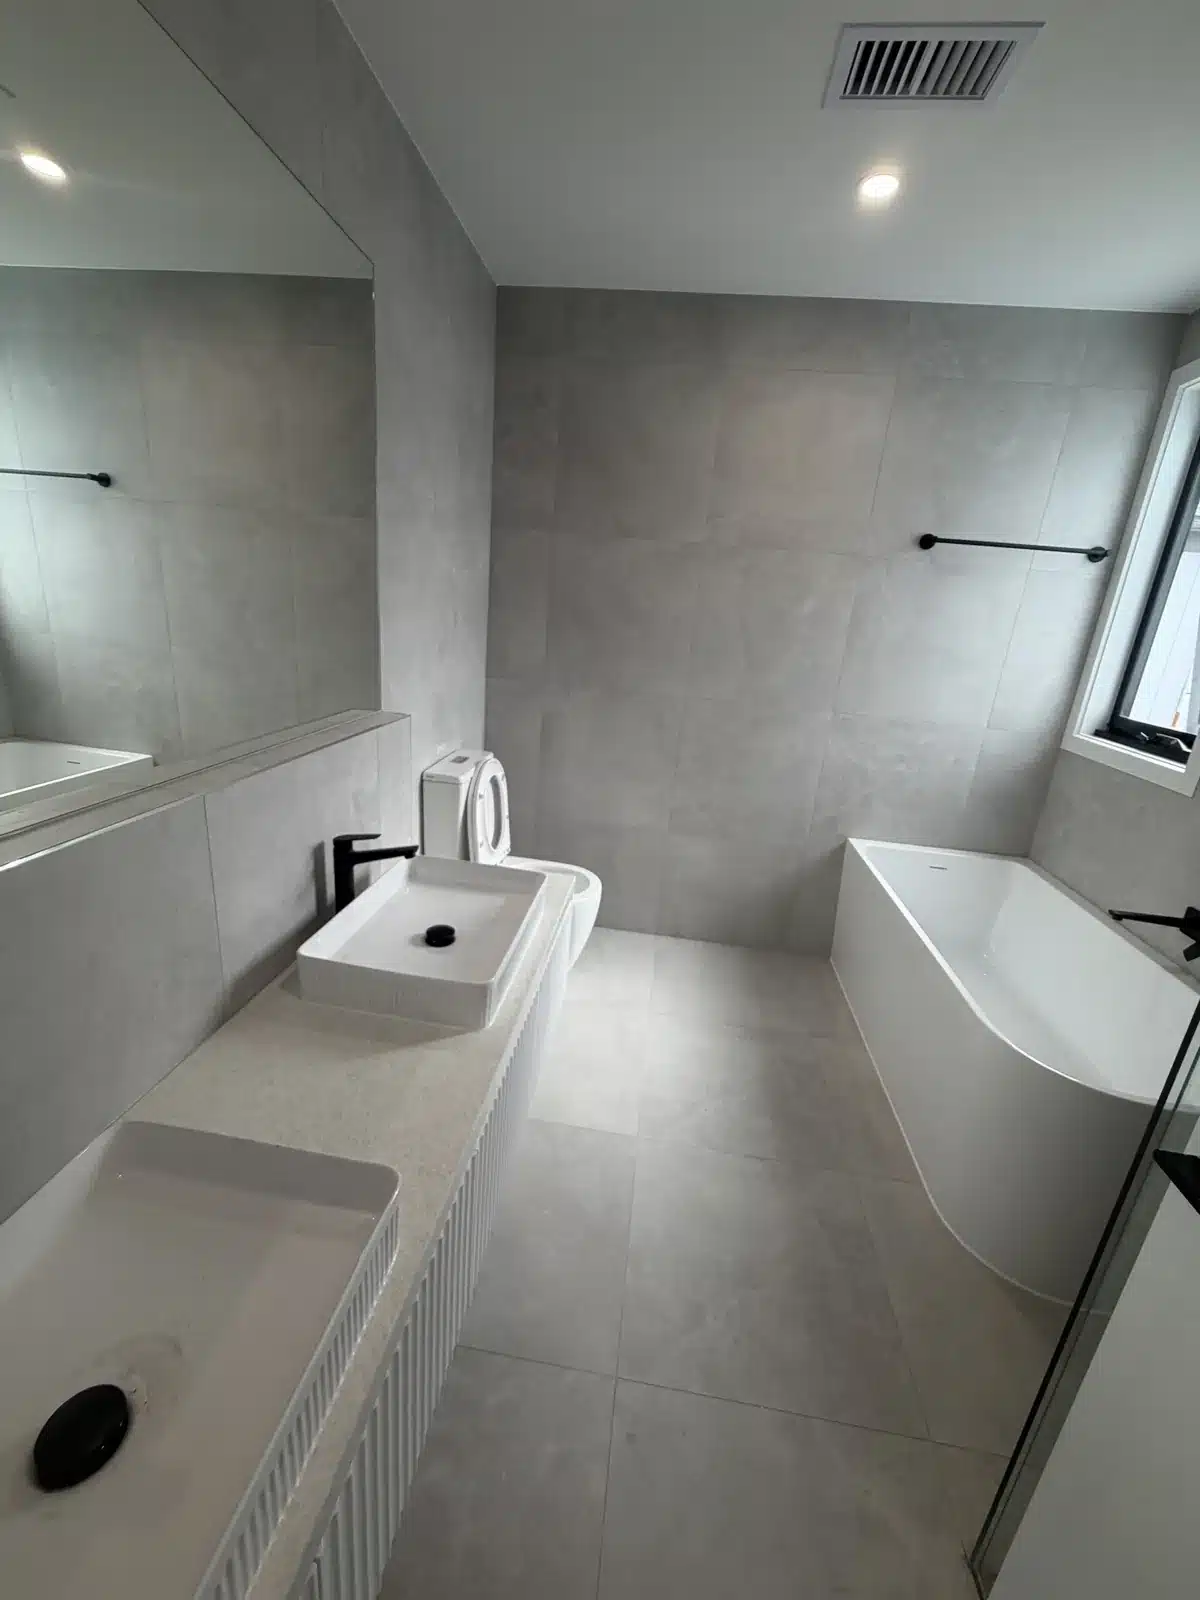
Where to Seal in a Bathroom
- Shower corners. Every internal corner, floor to ceiling.
- Wall to floor junctions. In the shower and around the room.
- Shower base or hob. Where the base or hob meets the wall tile.
- Shower screen. Where the glass or frame meets the wall and floor. Framed screens are sealed on the outside only, so water that gets into the frame can drain back into the shower.
- Niches and ledges. All internal corners, including the back edge of the shelf.
- Bath edge. Fill the bath with water before sealing. The bath drops slightly under load, and sealing it full means the bead is not stretched the first time someone uses it.
- Vanity and basin. Benchtop to wall, basin to benchtop and around tapware.
- Toilet pan. Around the base where it meets the floor tile.
Mistakes That Ruin a Bathroom Seal
- Sealing over old silicone. It looks fine for a few weeks, then peels as one strip.
- Sealing a damp joint. The bead never bonds, and the trapped moisture feeds mould behind it.
- Using gap filler in the shower. Acrylic products are not made for standing water.
- Too much product. A fat bead holds water on its edges and collects soap scum. Slim beads last longer.
- Smoothing with a wet finger. It drags silicone thin at the edges, which is where it lifts first.
- Using the shower that night. Water on uncured silicone leaves a weak, patchy bead.
When Recaulking Is Not Enough
Silicone seals the surface junctions. It does not replace the waterproofing membrane behind the tiles. Call someone in before you reseal if you see any of these:
- Loose, hollow sounding or lifting tiles
- Swollen skirtings, door frames or vanity kickboards
- Stains or bubbling paint on the wall or ceiling on the other side of the shower
- A musty smell that comes back soon after cleaning
- Sealant that fails again within months of being replaced
In those cases water is already getting past the tiles, and a new bead only hides it for a while.
Bathroom Caulking FAQs
Can I put new silicone over old silicone?
No. Nothing bonds well to cured silicone, including more silicone. The old bead and its residue have to come out completely or the new one will peel.
How long does it take to recaulk a shower?
For a DIY job, allow half a day for removal and preparation, drying time for the joint, an hour or two to seal, then 24 hours before the shower is used. A professional reseal of a standard shower is usually done in a single visit.
What is the best silicone for a shower?
A neutral cure sanitary silicone with a mould inhibitor, rated for wet areas. Neutral cure products are also the safe choice on natural stone and around mirrors and metal fittings.
How often should a bathroom be recaulked?
It depends on ventilation, cleaning products and how well the last job was prepared. We cover the usual timeframes in how often you should recaulk your shower.
What does a professional reseal cost?
It depends on the size of the shower, the condition of the old sealant and whether there is mould to treat. See our shower resealing cost guide for current Melbourne pricing.
Rather Have It Done Once?
Most of the bathrooms we reseal have been sealed before, often more than once. The product was rarely the problem. The preparation was.
Professional Caulking Group has been caulking and waterproofing Melbourne homes for over seven years, with more than 580 five star Google reviews. We handle bathroom caulking and resealing across Melbourne.
Call 0435 803 646 or request a quote online.